
Obtaining a "before" version of a raw edit in ACR
If you’re like me, you probably like to display a before-and-after of your editing from time to time. You’ve worked hard to craft a finished masterpiece from the original file that came from your camera, and you’d like to show people the results.
To do that, you need to go back and open a completely unedited version of your raw image.
The brutal way to do that is simply to clear your edits, and open the image at ACR’s default settings. Very effective. BUT … then you’ve lost your edits; and that’s not a great idea – what if you need them again?
Fortunately the solution is really simple:
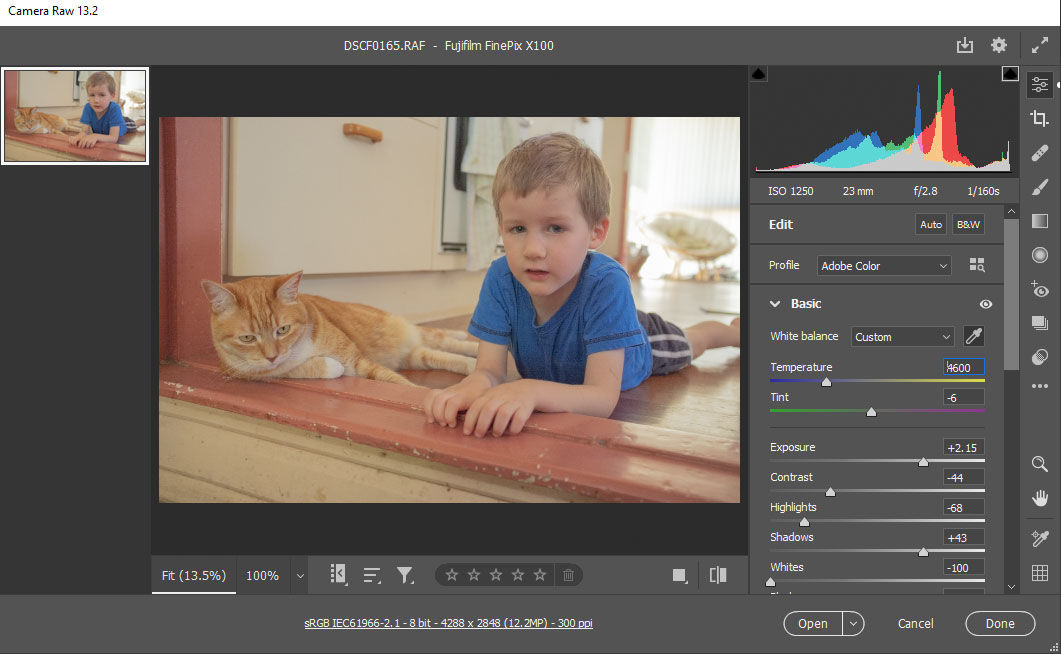
Open up your edited raw file. In this example you can see I adjusted the white balance to a custom setting, increased the Exposure, etc, etc:
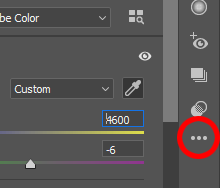
Click on the panel submenu …

… and choose "Reset to Default" or "Camera Raw Defaults", depending on your version:

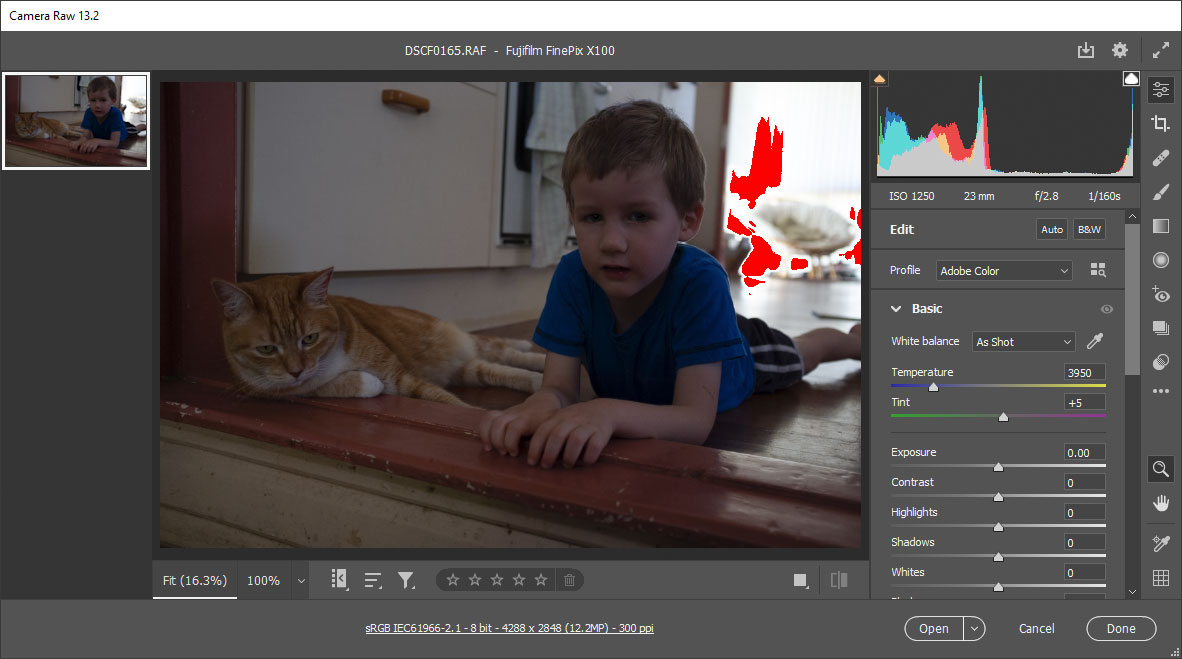
This will revert your image to how it looked the first time you ever opened it. Here, you can see my white balance is back to "As Shot", the Exposure is at 0, etc, etc. Eewwww:
Then, hold down your Alt or Option key:

And you’ll see that the "Open Image" button turns into an "Open Copy" button:

This is the key to the whole thing. By opening a copy of the image into Photoshop, rather than the original, ACR closes the raw file without making any changes to the previous XMP data. Therefore, your careful editing is still intact, if you ever need to re-visit the raw file.
Once you’ve opened an unedited copy image into Photoshop, you can also open your finished masterpiece, and save them both at an appropriate size, ready to display on your blog, or wherever.
By the way, remember that there’s no such thing as a SOOC raw file!