
Creating, saving and using a watermark (PS & PSE)
Putting a watermark on your photos is important if they’re going online. In this tutorial I’m going to give you some simple guidance for making and using your own.
(I’ve captured this tutorial in Elements 9, and it’s relevant to all versions of Photoshop and Elements. Please also note that I have zero design skills, so please don’t laugh at my feeble watermark!)
Part 1: Plan it
As always, a bit of forethought goes a long way. Take a little time to conceive your design. This might involve surfing the web to look at other people’s watermarks for inspiration; or it might just mean scribbling some ideas with pencil and paper.
Part 2: Make it
I’ve always found it’s best to actually make your watermark on a photo. This might seem plainly logical to some of you, but I’m a bit surprised at the number of people who design their watermark on a plain white background, and don’t really know how it looks on a photo until they try it out afterwards.
Also, it’s a darn good idea to make the watermark bigger than you’ll ever need it. Therefore, I make mine on full-res photos, even though I’m only likely to use it on a low-res one.
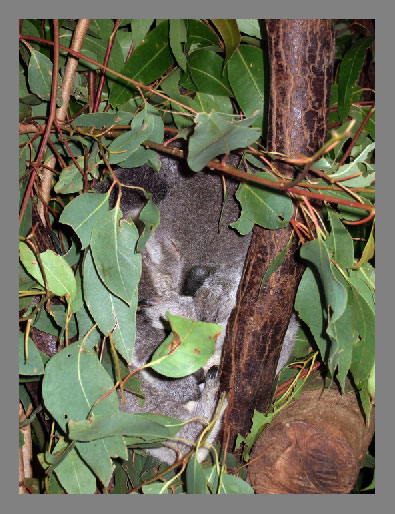
Pick any old photo, really. I’ve chosen this one of a snoozy koala:
So, I start. I type my name …
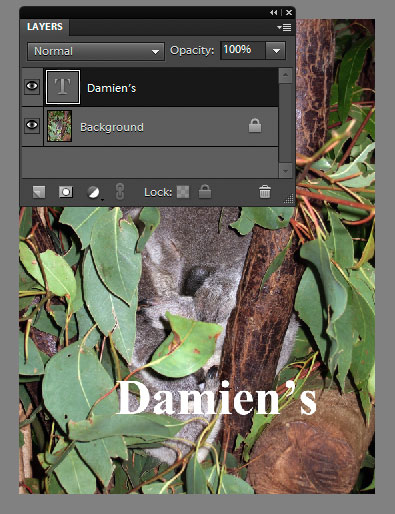
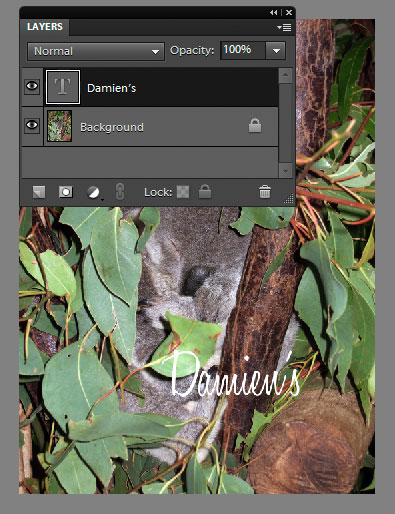
… then try a few fonts and choose one I like:
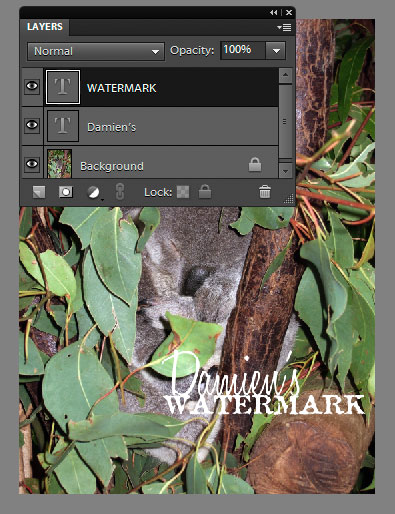
Then I add the next layer of text, and choose another font:
I want to add a little extra embellishment, so I choose the Shape Tool …
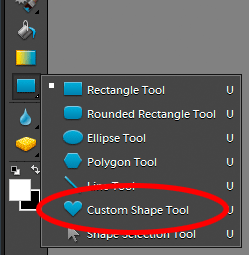
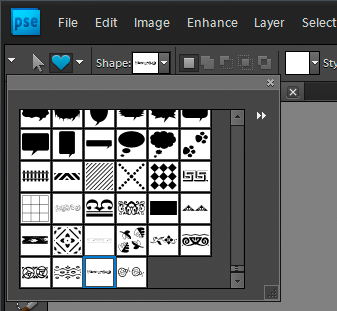
… and choose a custom shape from Photoshop’s extensive library:
(If you’ve never really looked at all the shapes that come with Photoshop, do yourself a favour. There’s lots of fun stuff in there.)
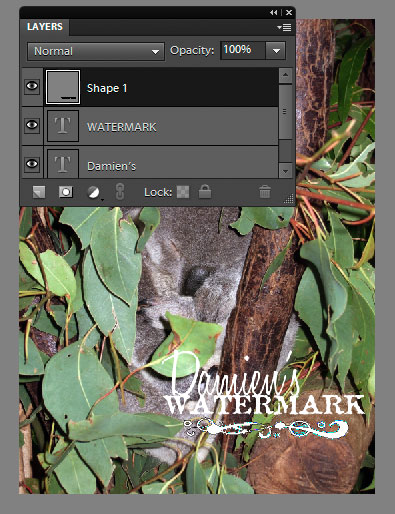
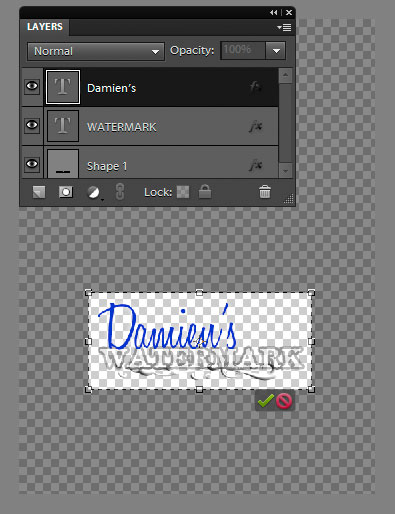
Then I draw the shape beneath the watermark. Now I have three layers comprising the design – two text layers and a shape layer:
If I want to move the watermark around, without the different elements separating, I select all the layers at once. I do this by first selecting the top layer, then holding down the Shift key, and selecting the bottom layer. This highlights all the layers, and I can use the Move Tool (V) to move the watermark around.
Time to modify things and jazz it up. I select the "WATERMARK" text layer, then go to Layer>Layer Style>:
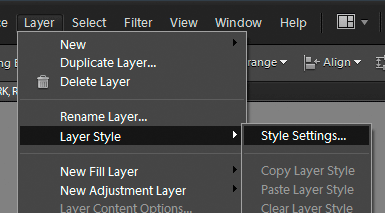
(The above menu slightly differs between Elements and Photoshop, but you’ll get the idea.)
I add a bit of a stroke to the text:
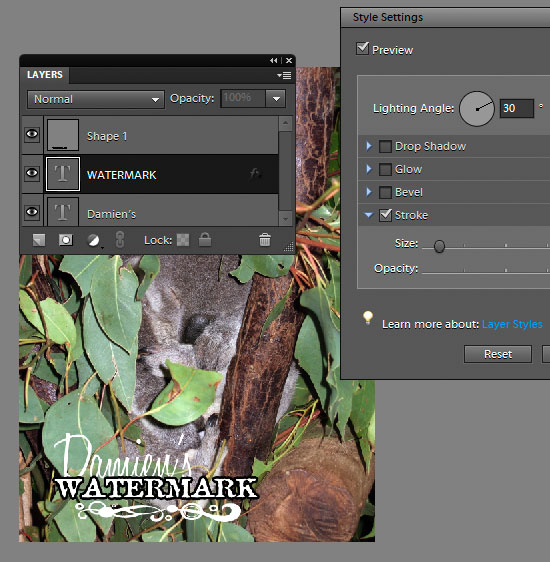
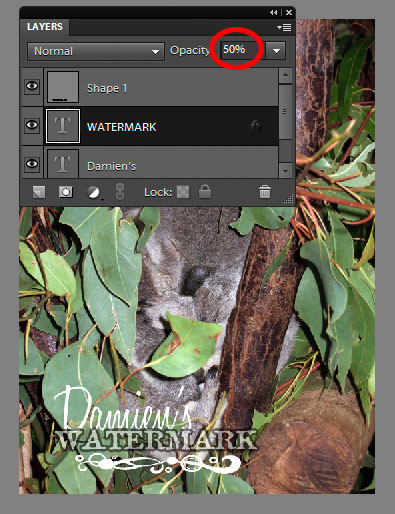
And I lower its opacity a bit:
(Please note that there’s little point in playing with the Layer Blend Modes when making a watermark, because they don’t transfer onto the image when used.)
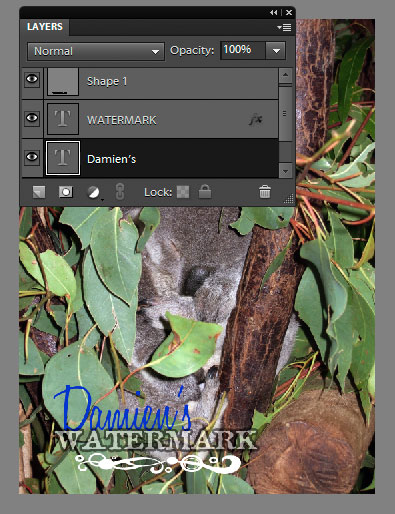
Now I select my name layer, and change the colour to blue:
On the shape layer, I add a Bevel layer style (I’ve zoomed in so you can see it a bit better):

(At this point, the design-conscious among you will be feeling nauseous at my hodge-podge of styles. I’m just throwing a few things together to give you some ideas of what can be done.)
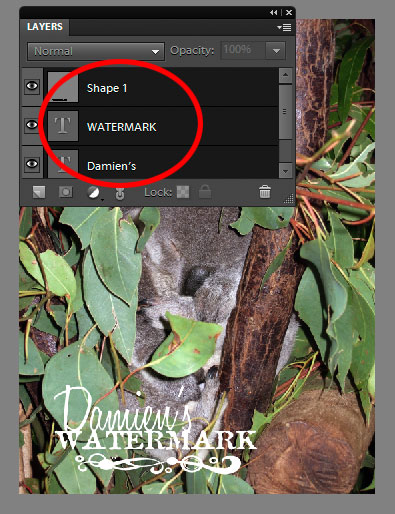
I re-arrange the layer order a bit, and move the shape layer upwards so it’s overlapping the text:
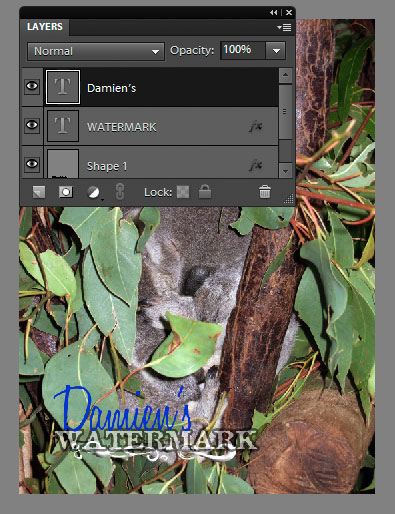
At this point, I think I’m done. But there’s one more important thing to do, and I urge you not to forget this step. I have to move the watermark around to various parts of the image, and check its visibility and clarity.
When I place it over a dark area – the tree trunk – I see that the blue text gets a bit hard to read:
I have a few options. I could just not worry about it – that’s the easy way 🙂 I could dabble with different text colours. Or I could play with more layer styles.
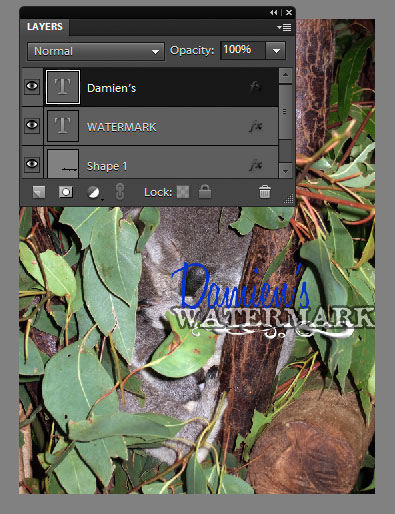
I decide on the latter. I add a bit of soft white "outer glow" to make the text stand out from the image a tiny bit more:
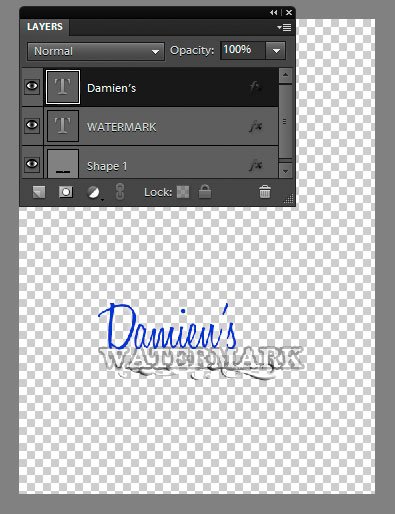
Finally I’m satisfied. The last step is to delete the background layer so that the watermark is on a transparent background:
Then crop away the excess space:
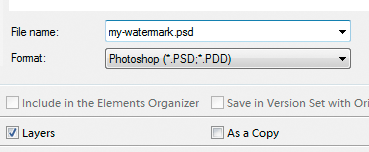
File > Save As …
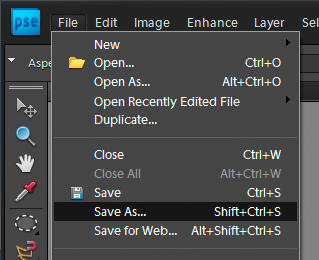
… and save it as a PSD file:
Then I close it. I don’t need it open any more.
Part 3: Use it
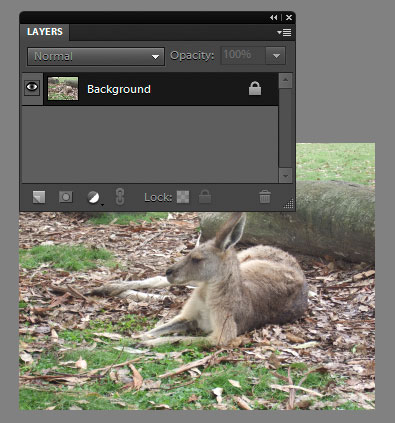
Now I open a new photo. This is the one I want to upload somewhere. I shrink it to web size, flatten it, sharpen it, yada yada yada …
Then, File>Place (if your software gives you a choice of "Place Embedded" or "Place Linked", choose Embedded) …
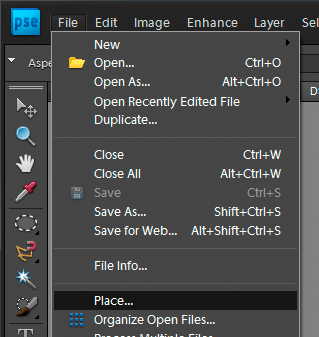
… and choose the watermark file, and it appears in the centre of the photo:
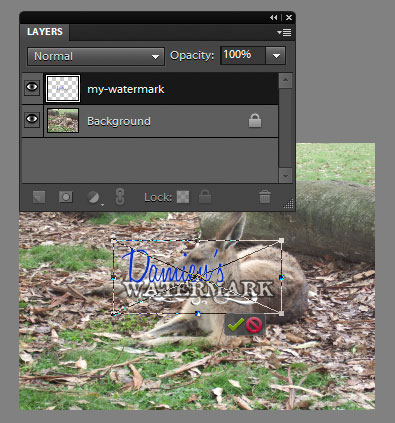
The transform handles are active, so I can resize it if I need to, and move it around to where I want it:

I press Enter to finish the transformation (I can Ctrl-T to do it again later if I need to).
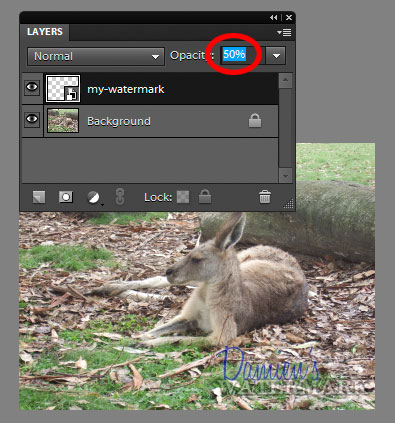
I can stop there if I wish. Or, I can play with blend modes …
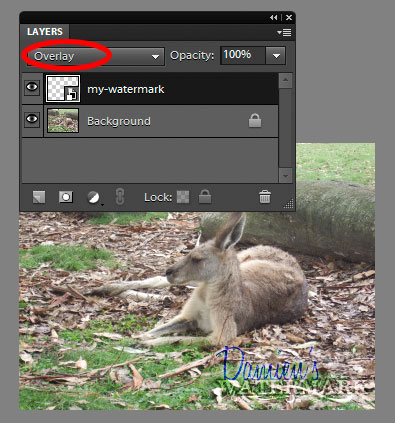
… or opacity. Whatever suits my style … or mood … or whatever.
Then I save for web, and it’s ready to go!
Some notes
- Now that you’ve learned how to make and use a watermark, learn how to build it into an action (Photoshop only).
- Some people say you have to save a PNG file to be a watermark. This is absolute nonsense. PSD is the best format – not only can it have that transparent background which is so important for a watermark, it is also completely easy to come back and edit it later (eg if I decide I want my name in red not blue).
- Other people turn their watermark into a brush. This is really restrictive, and I don’t recommend it. A brush can only be one colour, and it can’t be batch-processed. Use this PSD/Place method instead.