Painting on some skin
This is one of those tutorials that I’m writing in the hope that you’ll never have to use it.
Sometimes, things don’t quite go right, do they? I’m talking about some very bright light hitting the skin of your subject, or some accidental overexposure, causing complete blowout in one or more areas.
Here is one such image that I was able to (at least partially) rescue from the brink of catastrophic blowout. I know it’s not perfect, but at least it’s better than nothing.
The method I’m about to show you is not a miracle cure, by any means. But it’s a way of subtly adding some fake skin colour where none exists.
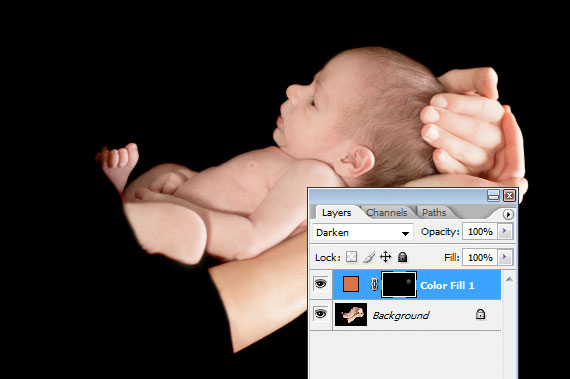
Obviously, you should be shooting Raw, which allows some latitude to rescue difficult lighting. But even Raw is not infallible, as you can see in this gorgeous example image, kindly provided by Terri:

There was some bright light hitting Mum’s fingers which caused a loss of detail which wasn’t quite recoverable even in Raw. So Terri needs to add a little bit of colour there, to prevent the viewer’s eye being drawn to that area, instead of the beautiful child.
So, here’s how to go about it. (By the way, this method will work in all versions of both Photoshop and Elements.)
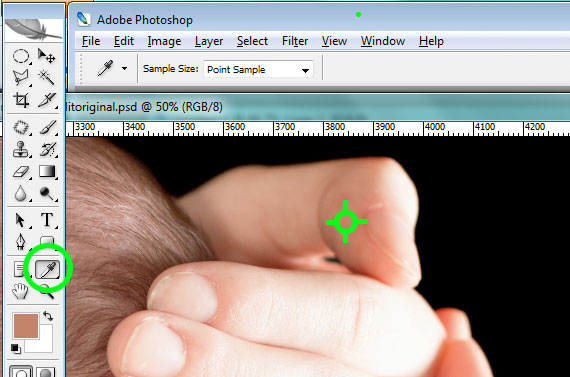
First, use the Eyedropper tool to sample a darker area of good skin colour. In this example, I sampled the thumb:
Then, add a Solid Color layer …
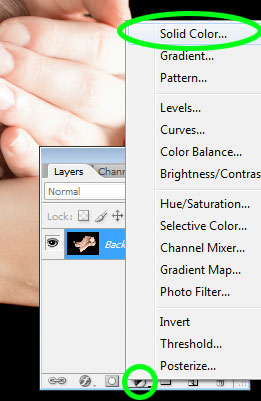
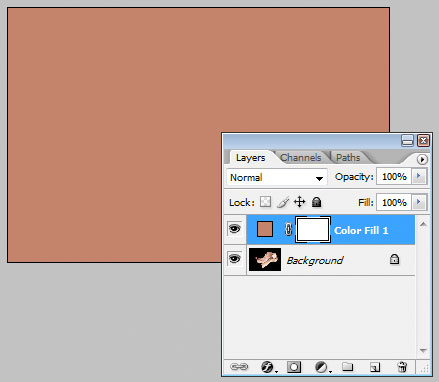
… which will, of course, fill the image with that sampled colour:
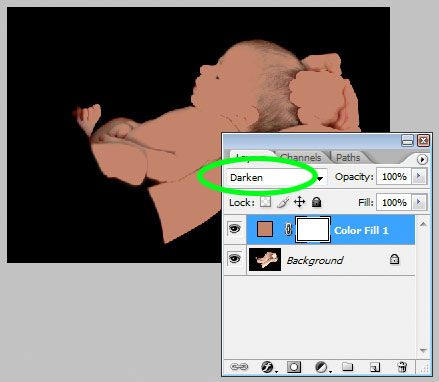
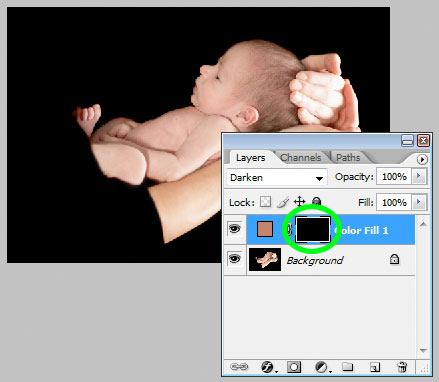
Next, change the blend mode of that layer to "Darken" (sometimes Multiply works too, but I’ve had better success with Darken):
Then invert the layer mask to hide the colour altogether:
Choose the Brush Tool, and choose white as the foreground colour (if it isn’t already). Set your brush opacity very low – I used 5% in this example, but sometimes I even use as low as 2% or 3%:

Then, start painting. I have no particular words of wisdom about this. Just very gradually build up the colour in the areas which need it. Don’t go over the top – the darker you go, the more visibly fake it will look. The best you can hope for is to add just enough colour to stop that bright area being an eyesore.
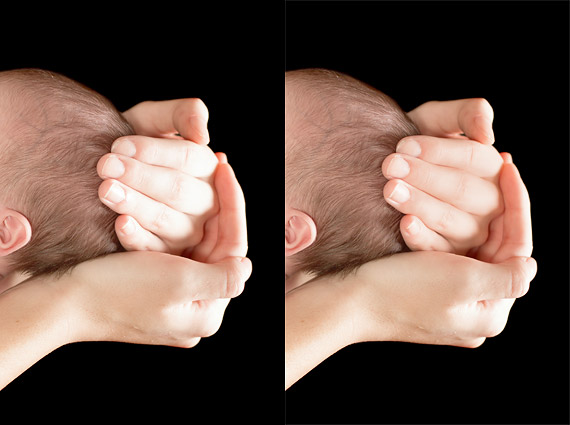
Here’s the before-and-after of my job on the fingers. I hope you agree with me when I say that it’s strong enough to be effective, but not strong enough to look dodgy:
I hope this little tutorial helps you out of a tricky situation once in a while.
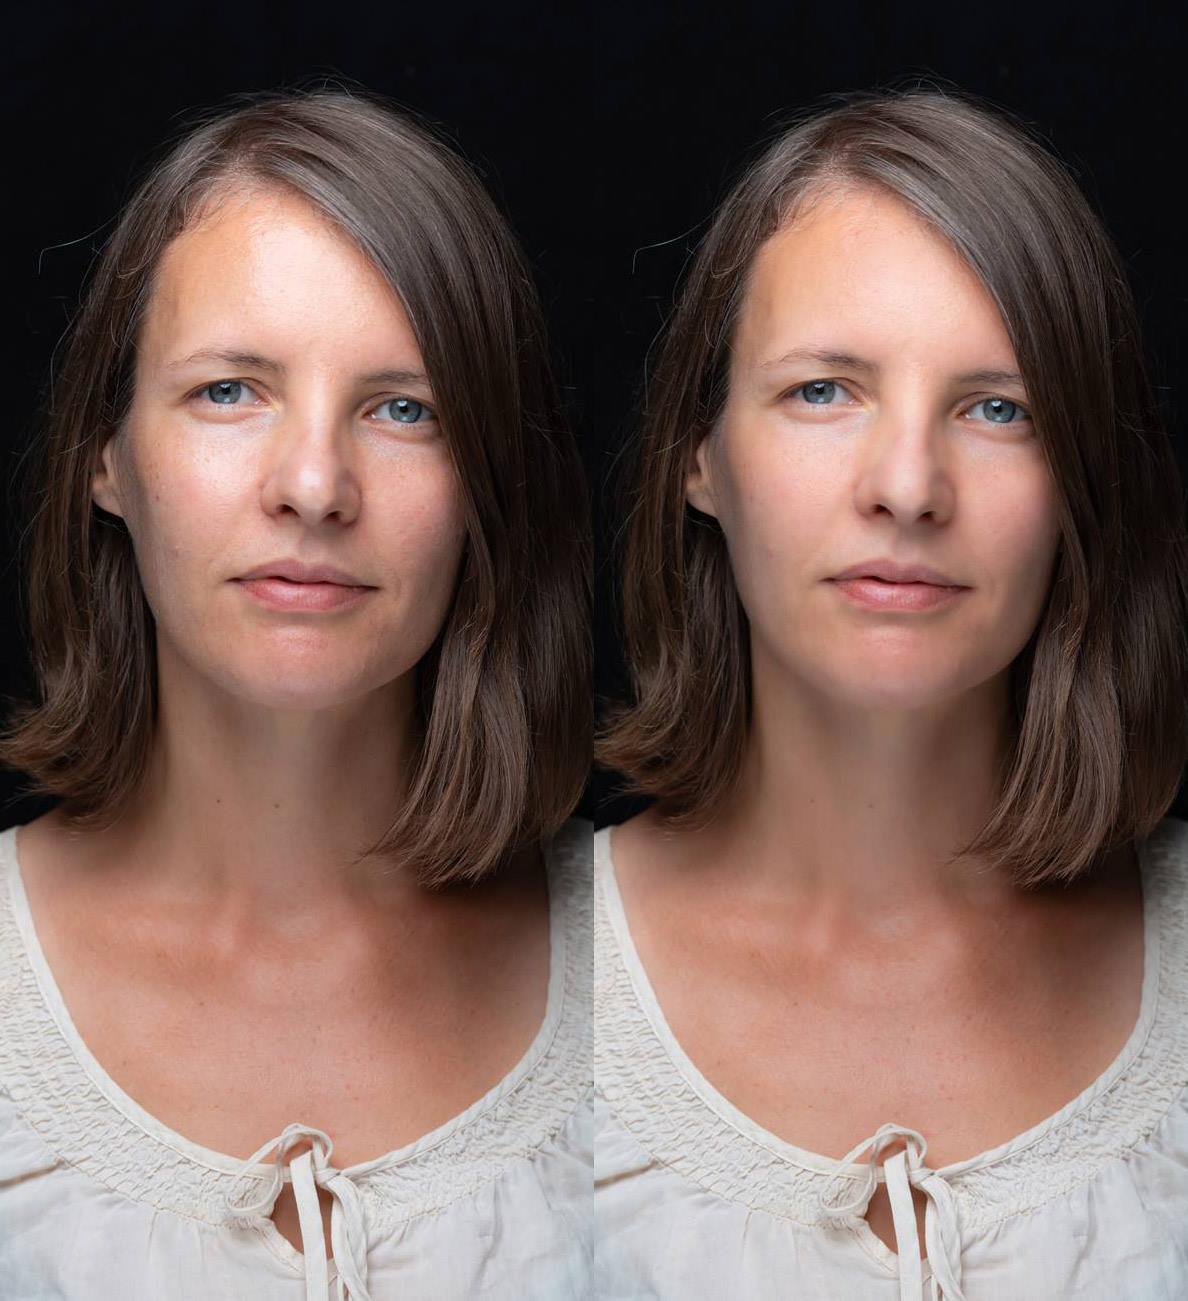
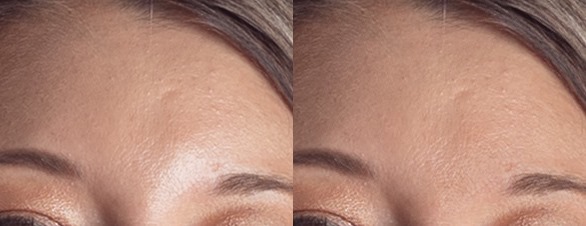
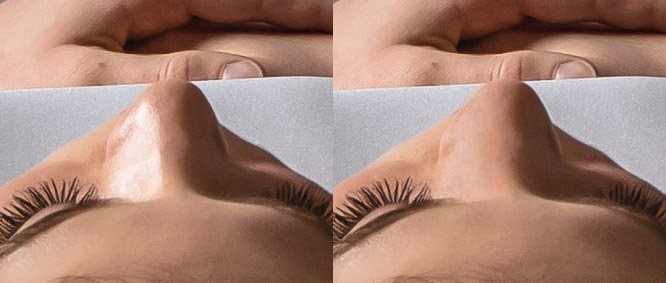
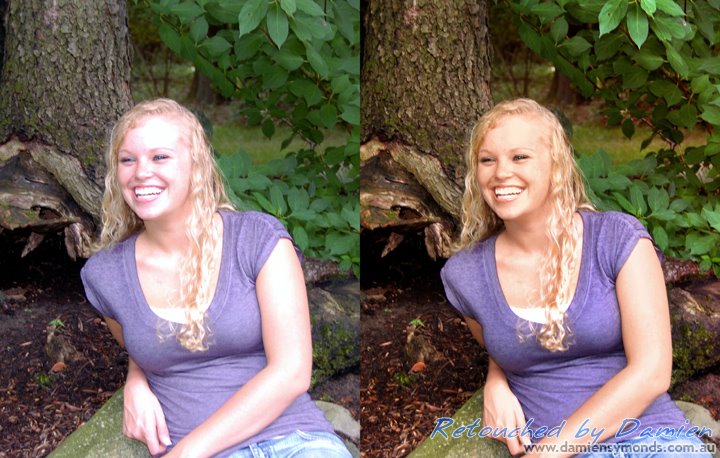
More examples: