
Dealing with "hot" areas of skin
This is a very simple tutorial that I’ve been meaning to write for ages. This method works in all versions of Photoshop and Elements.
Many thanks to Nicole for allowing me to use this beautiful photo:
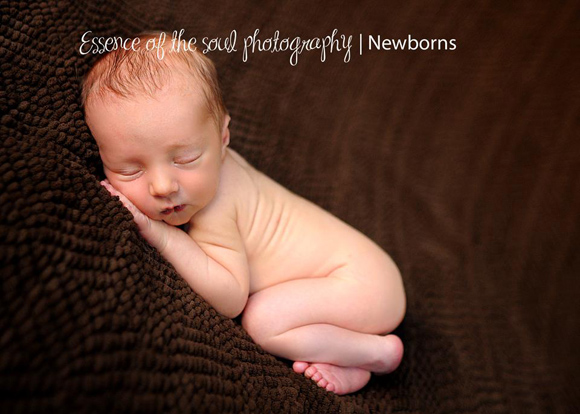
So gorgeous! But it has a little problem that seems to pop up in quite a lot of photos … it has some areas of very "hot" skin – that is, the skin is glowing quite bright red in some parts:

This problem almost always occurs in shadowy areas of skin. Sometimes it’s caused by a red cast – perhaps the subject is wearing a red shirt, or standing beside a red car, or whatever.
But more often it happens in post-processing. It can happen for a number of reasons, I guess, but I think the main culprit is Curves. If I took a poll, I bet I’d find that this problem happens to Curves users more than Levels users. (Read about the difference.)
Anyway, no matter how it happens, it’s very easy to fix. Start by adding a Hue/Saturation adjustment layer:
Choose "Reds", and drop the Saturation slider to -50:
This will make your subject look awfully ill for a moment, but don’t worry about that …
… because you immediately invert the mask to hide the adjustment:
Choose the Brush Tool, and lower its opacity to no higher than 10%. Also make sure that white is your foreground swatch colour:

(I captured these screenshots way back in Photoshop CS2, but don't worry, this method works in every version, old and new.)
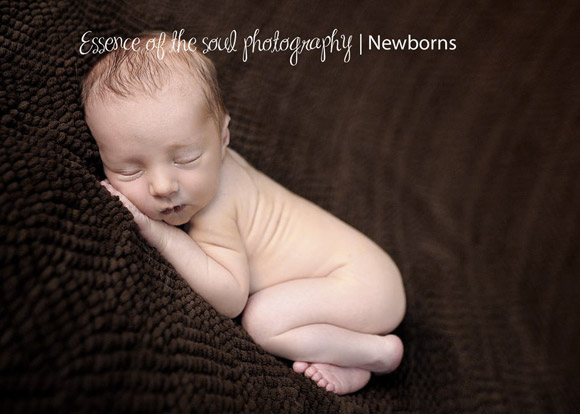
Then paint gently over the hot areas, until they are desaturated just enough:

The difference is very subtle, but it’s important all the same.
As a guide, here’s a black and white view of the mask I used for this edit:
Variation
The -50% saturation setting will work quite well for most photos. But sometimes you’ll find that the desaturated area is either too light or too dark compared to the rest of the skin. If this happens, just go back to the adjustment layer, and move the Lightness slider up or down as needed.
Since the Lightness slider has a side-effect of reducing saturation by itself, watch out that the area doesn’t become too undersaturated. Generally, I compensate one with the other – if I move the Lightness slider by 10% either way, for example, then I’ll increase the Saturation slider by about 10% (to -40) to make up for it.
Your mileage may vary, of course, so play around and see what settings work best for you.