
White backgrounds
Sometimes, when you photograph somebody against a white backdrop, you don’t quite have the lights to get it perfect in camera. Here’s a simple method for whitening it nicely in Photoshop.
Notes about this tutorial:
- This tutorial assumes you have a basic knowledge of adjustment layers and layer masks.
- I originally wrote this tutorial in CS2. Nothing has changed - the method still applies in all newer versions of Photoshop.
- As always, no amount of Photoshopping is better than getting it right in the camera. Correct use of lighting will eliminate the need for fiddly post-processing.
- This method will only work on a fairly evenly-lit background. If there are noticeable shadows on the backdrop, you will need a more advanced method.
- This method will also work (in reverse) for black backgrounds. It won’t work for coloured backgrounds, I’m afraid.
Step 1:
Enhance the portrait to your satisfaction.

I’ve got the exposure and colour where I want them in this shot, it just needs a pure white background.
Step 2:
Use the Polygonal Lasso Tool to select the background. Go nice and close to the subject, but allow yourself a little room to play with. Accuracy is not important at this stage.
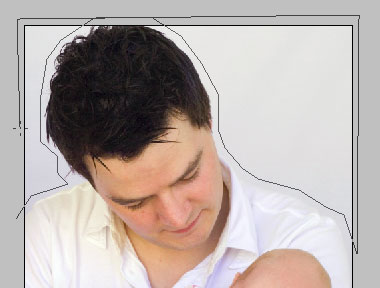
You’ll end up with a selection like this:

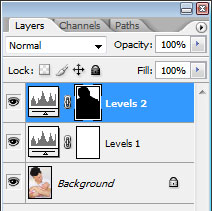
Step 3:
Create a Levels Adjustment Layer. Immediately your selection becomes the mask for the layer.
Step 4:
Choose your white eyedropper.
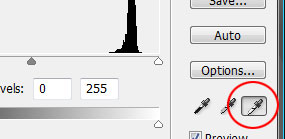
NOTE: By default, your white dropper should be set to pure white (255,255,255). However, if you’ve been reading one of those nonsense books or tutorials which advise changing the white dropper settings, please change it back now (by double-clicking it).
Step 5:
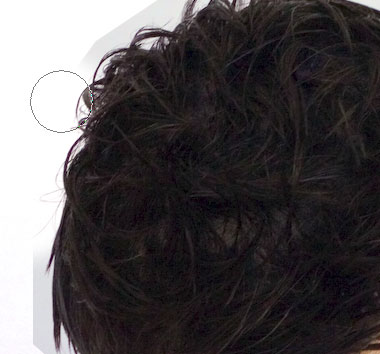
Click somewhere very close to the subject’s hair …

… and you’ll see the background drop away to white.

At this point it’s a good idea to zoom in and check if you’ve got the white you want. It might be necessary to click somewhere else to get the best result.
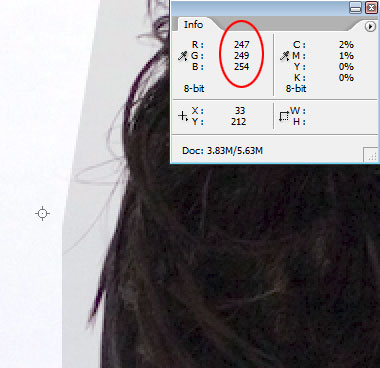
When I zoomed in here, I found that parts of the background weren’t quite 255,255,255. So I clicked in that spot with the white dropper to force it to be white.
Step 6:
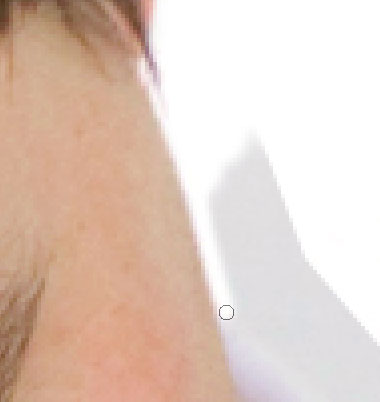
Now the fun part. Choose your Brush Tool, and press D to make sure you’re painting with white, then gradually paint around the edge of the hair to reveal the white background beneath it.
Although it may seem odd, the hair is usually easier than the other parts. Once you get to hard edges like skin and clothing, you’ll need to zoom right in and paint with precision.
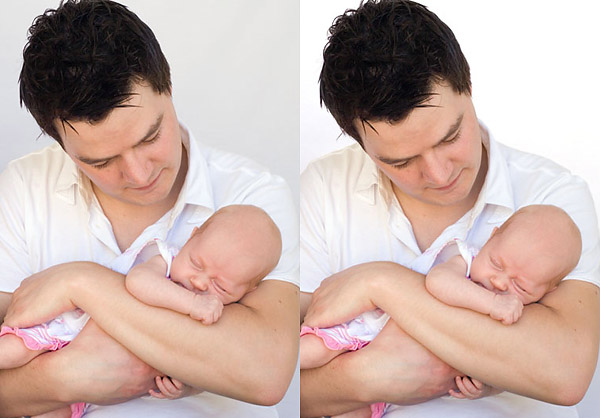
The finished product
Compare the original image on the left with the adjusted image on the right:
Want to take this to another level? Check out this tutorial!