
Making a before-and-after
Sometimes people ask me how I prepare my side-by-side before-and-after comparisons, such as the ones I post on my Facebook page. Eg:
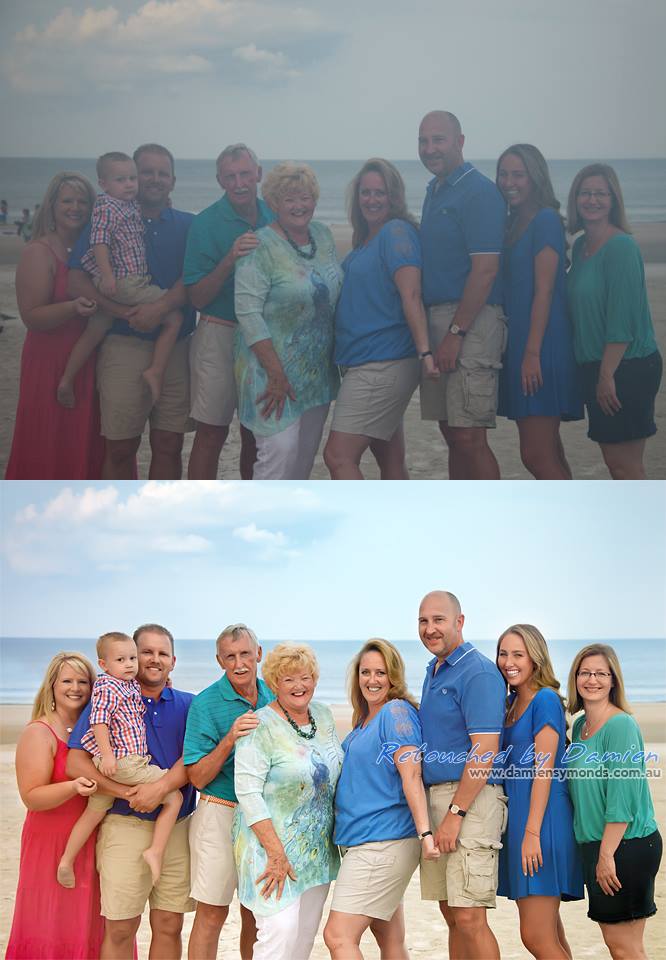
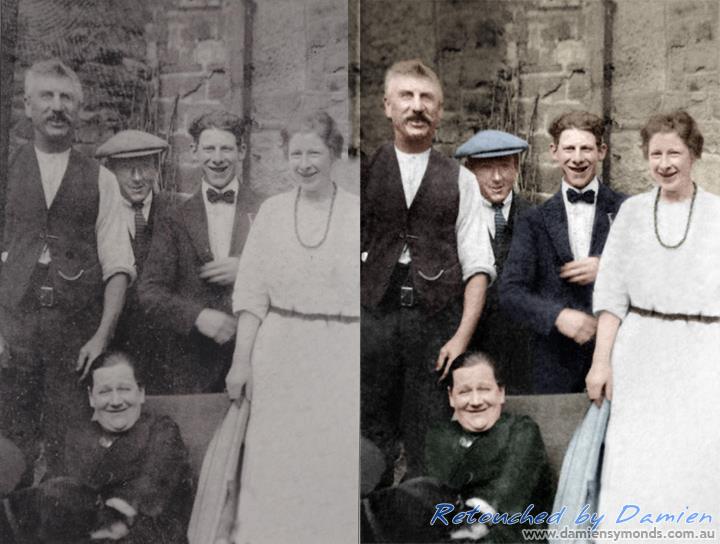
etc. It’s really easy, so here it is.
There are two stages to the process – firstly, getting the before and after on top of each other, and secondly, rearranging them side by side.
STAGE ONE: Stacking the before and after
If your image began its life as a Raw file, and you want to show the whole transition from Raw file to final edit, there are two parts to this stage. I’ll discuss that in a moment.
Let’s do the easy one first. If you just want to show the transition from "Here it is when I opened it in Photoshop" to "Here it is once I’d finished in Photoshop", it’s a simple matter of merging layers.
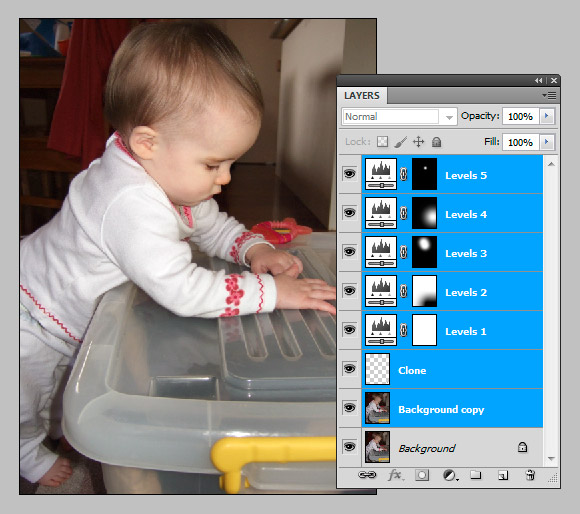
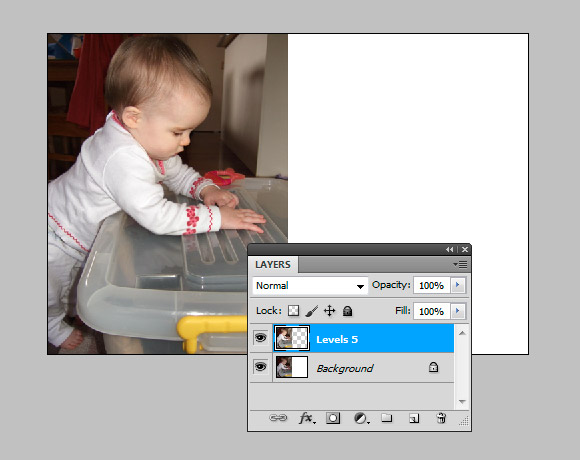
Here’s an example. This is a photo of my daughter (wow, I can’t believe she was ever that small!) which was shot in Jpeg. I opened the Jpeg file into Photoshop and made a few Levels adjustments. I also cloned out a specks of dirt:
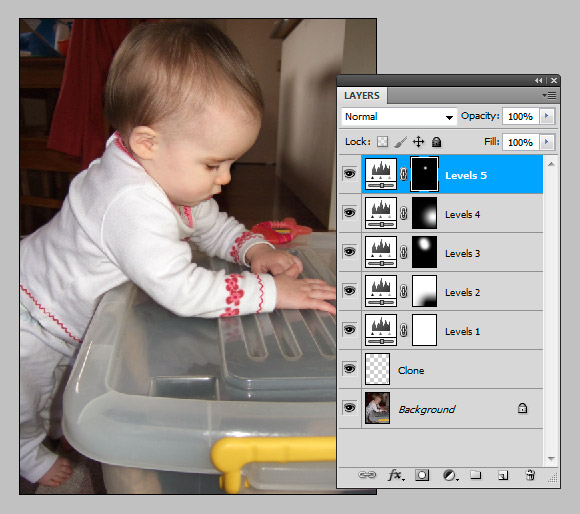
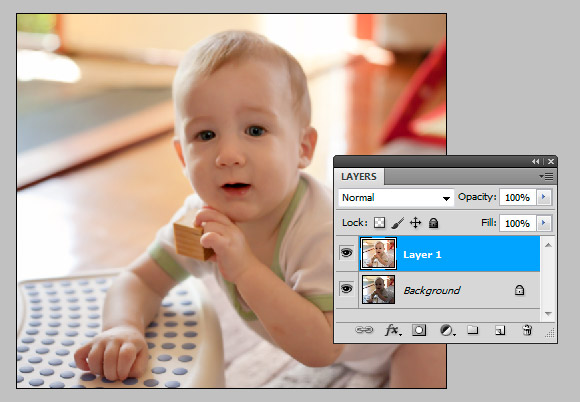
All you have to do is select the Background layer, and create a copy of it by pressing Ctrl J:
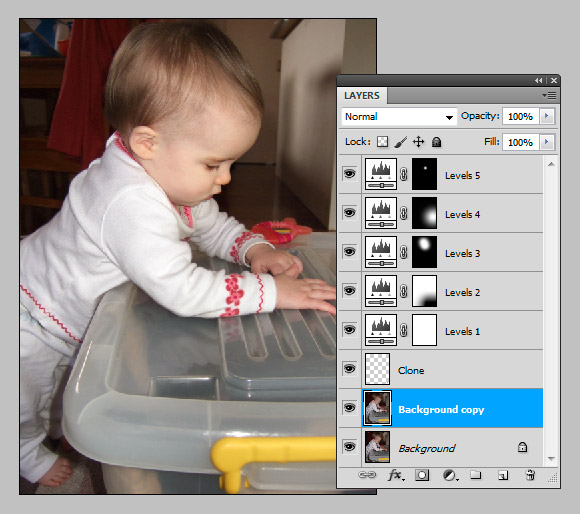
Then hold down the Shift key, and click on the topmost layer. Now you’ll have all the layers selected, except for the original image at the bottom:
Simply Ctrl E to merge all those layers together (the new merged layer automatically assumes the name of whichever layer was on top):
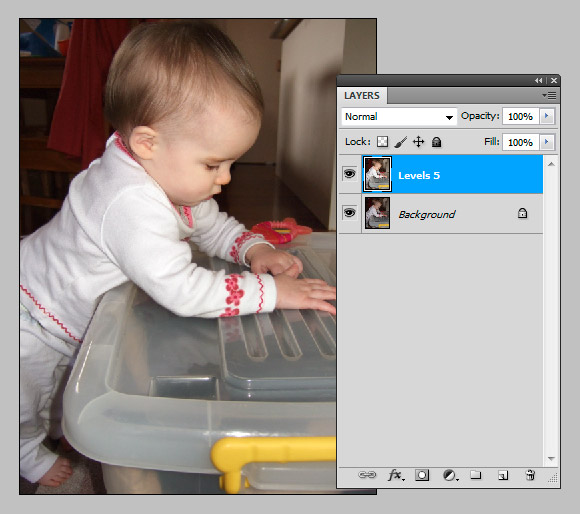
That’s all there is to it, for this stage. Now you’ve got your edited image on one layer, and the original image underneath it. Needless to say, DO NOT SAVE your file at this moment, or you’ll lose all the precious layers you had.
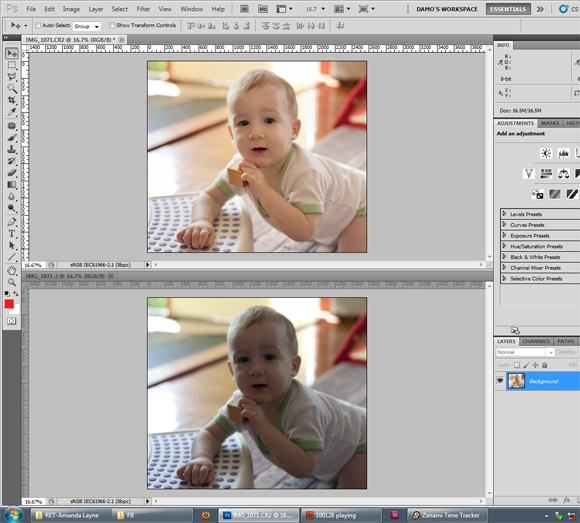
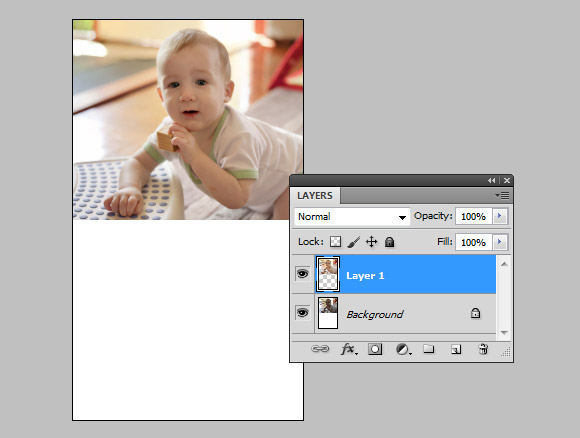
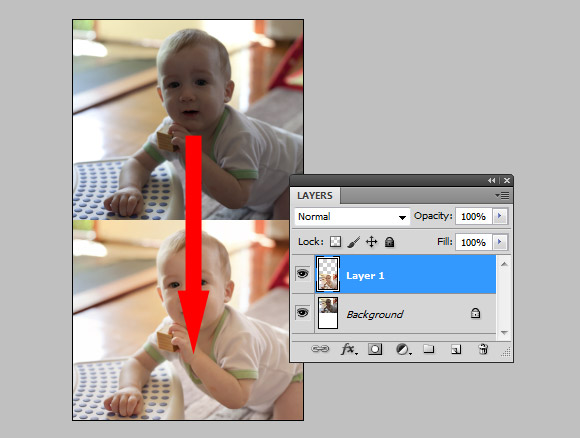
Now let’s look at the situation from a Raw file. Here’s a photo of my son, which I processed from Raw, brought it into Photoshop, and did some more editing with layers:
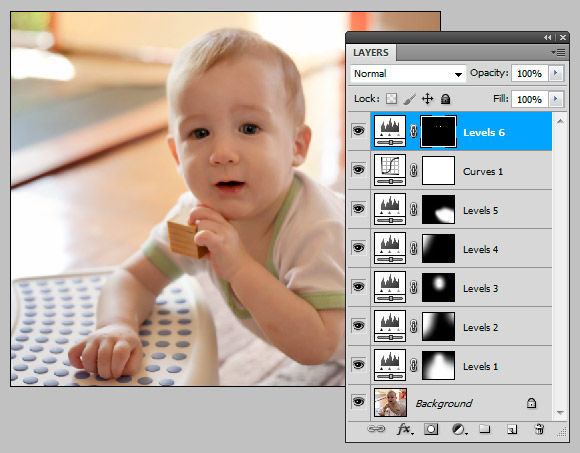
Just go to Layer > Flatten Image, and put those layers all together into one finished item. (Again, do not save at this point!):
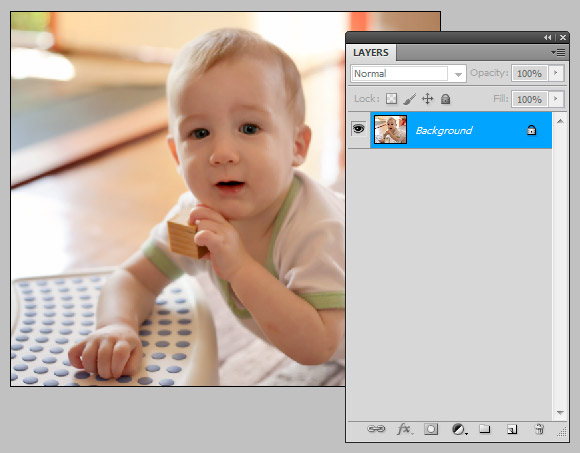
Then re-open your Raw file, and reset your adjustments to the defaults, then hold down the Alt Key and press "Open Copy" to open the completely unedited image into Photoshop (much more information about this step here):

Now you have both versions open in Photoshop. Arrange your windows so you can see them both (much more info here):
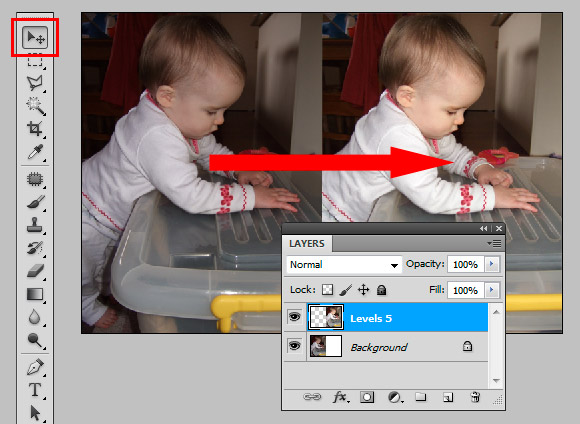
Make sure the "after" image is the one you have selected, then drag and drop its Background layer onto the "before" image, as I’ve shown here with a big red arrow:
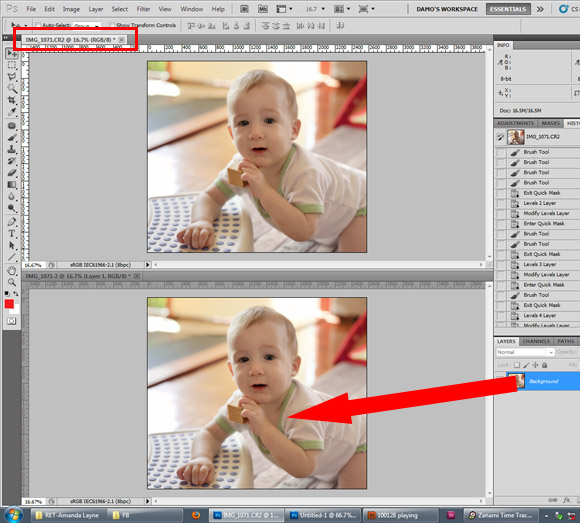
Now you’ll have exactly the same result as the other example – your edited image on one layer, and the unedited one beneath it:
Are you with me so far? The whole purpose of Stage One was to stack the "after" on top of the "before".
Important: If you want to crop your image, now is the time to do it.
Now let’s put them side by side …
STAGE TWO: Arranging them
In this stage, it makes no difference whether your original file was a Raw or a Jpeg. The only consideration is whether to put the images beside each other, or on top of each other.
I hope it makes sense when I say that, in most cases, you’ll want your portrait images to be side in a landscape layout, and your landscape images to be above/below each other in a portrait layout. If you look at the two examples I included at the beginning of this post, you’ll see what I mean.
Let’s revisit my first photo. Here she is, with the edited image on top of the unedited one:
Open the Canvas Size dialog. First, change the units to "percent", then change the width to 200. Needless to say, this doubles the width of the document. Secondly, click the Anchor grid as necessary. I want to create new space to the right of my image, so I click on the left Anchor square. (If you haven’t used the Anchor grid before, it might seem slightly unintuitive to you, but don’t worry, it’ll become second nature very quickly):
Here’s the result of all that. The images are still stacked on top of each other at this stage, but there’s some neat blank space beside them:
Now all you need to do is take your Move Tool (V), and drag the "after" image across to its new space. Unless you’ve deliberately turned off "snapping" in Preferences, the image will click nicely into place, and fit perfectly:
Then it’s all ready for you to do your normal web-saving stuff. Flatten the layers, resize appropriately (eg 2048px for Facebook, or whatever) and sharpen if desired, add your watermark, save, and upload. Bam!
(More comprehensive info about this here: Best practice for saving web photos.)
Easy stuff! Let’s take a look at the landscape photo …
When we last saw it, we’d achieved the stacking of the layers:
In Canvas Size, I anchor it at the top (because I want the new space to be at the bottom), and enter 200 percent as the height:
Here’s the result – blank space at the bottom ready for the “after” version:
Then I take my Move Tool and drag the layer downwards. Voila!
Finally, I can do my usual saving steps (resizing, watermarking, etc).
I certainly hope that all makes sense. Honestly, it’s a process that takes a matter of seconds. Nothing to it.
Of course, you can get a bit more creative with borders etc. It’s just a matter of adapting the mathematical calculations slightly.