
Using Photoshop’s Gradient layer
This one is for Julie, who wanted to remove the distracting bright orange toy from this photo, and was having trouble cloning it out.

Now, let’s be clear – cloning definitely is the "correct" way to do this. It could be done with some patience, using this method. But when I asked Julie if she’d be happy with the "lazy solution" (my area of expertise!!!) she said yes.
So, here we go, Julie. I did this in Photoshop CS2, but it’ll work in all versions of Photoshop and Elements. This method uses the Gradient layer, which I’ve discussed a little in other tutes, particularly regarding skies.
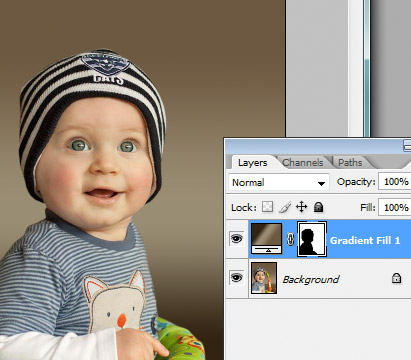
First, I used the Lasso Tool to roughly select the background:

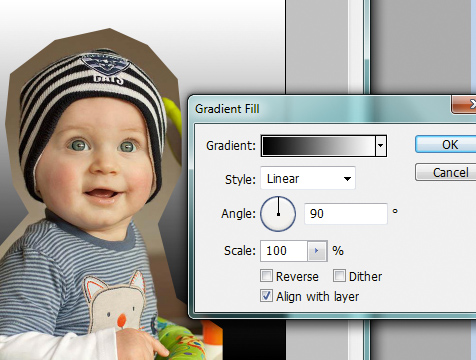
Then I added a Gradient layer. (Don’t confuse it with a Gradient Map layer.) By default, it gave me a black-to-white gradient. Immediately, I changed the angle to 90 degrees, so it ran vertically:
But black-to-white was no good, of course. My goal was a three-colour gradient to roughly mimic the three main shades of brown that currently existed in the background. So I clicked on the little arrow at the top of the dialog, and chose a three-colour gradient preset. A garish blue/red/yellow one:
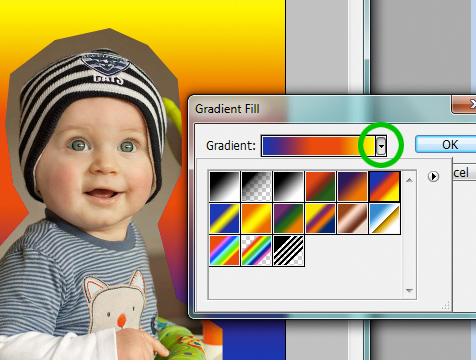
NOTE: If you can't find the rainbow options in your version of Photoshop, follow these instructions.
Next, I clicked on that gradient …
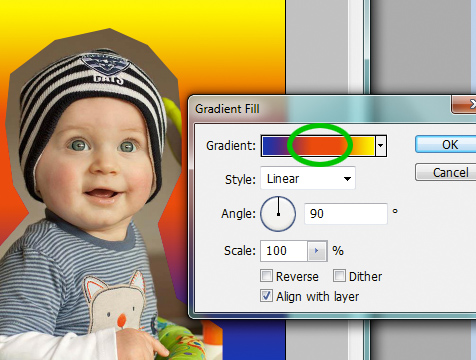
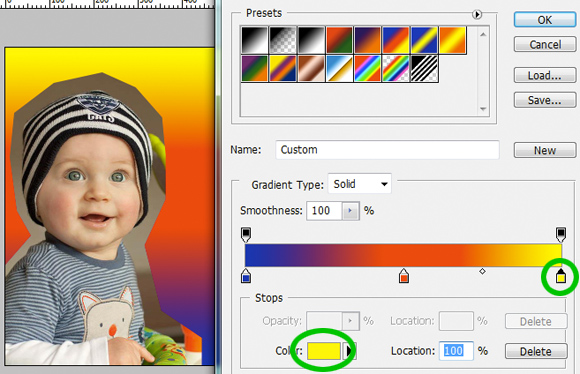
… to get into the "engine room" of the layer. You can see the gradient illustrated there, with the three stops of colour indicated – blue at the start, red in the middle, and yellow at the end:
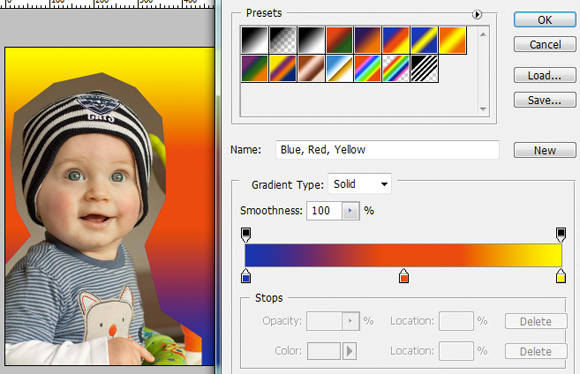
(One annoying thing about this method is that you get two or three little windows piled on top of each other. Not a problem if you have a big screen, but annoying on my laptop!)
Time to swap those loud colours for the three shades of brown I needed. I decided to start with the brown at the top, so I clicked on the little yellow stop (the little square), followed by the Color swatch (the rectangle):
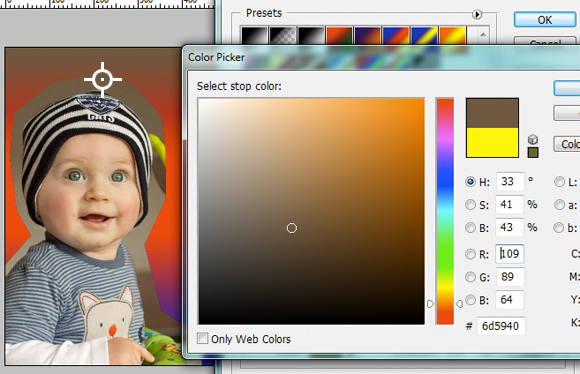
When the Color Picker window opened, all I had to do was click on the brown above the hat, to choose it. Then pressed OK:
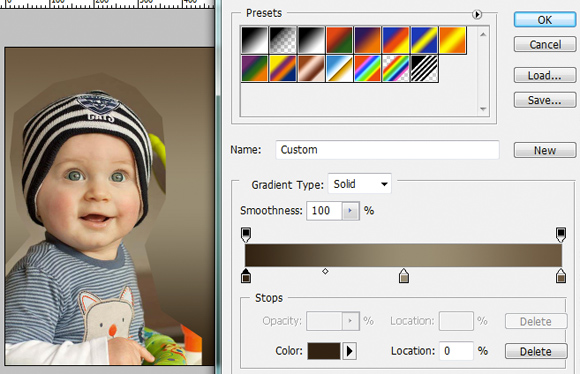
In a flash, I’d done the same with the other two stops … click the square, click the rectangle, click on the desired colour in the photo, OK. Bam! Done:
Well, not quite done. The colours were right, but their position wasn’t. For example, the light brown colour in the middle of the gradient was … well, in the middle of the gradient. But in the photo, that light brown was a bit below middle. No problem, all I had to do was slide those stops around a bit until the colours were where I wanted them:
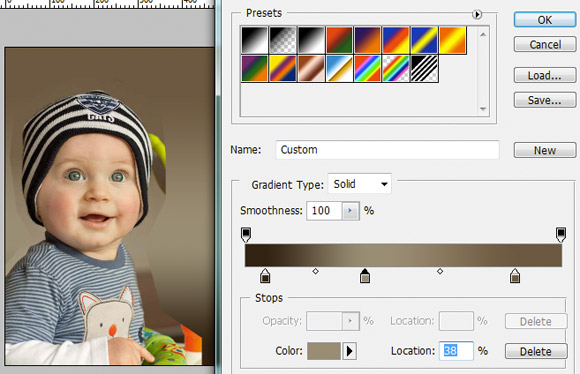
What was the point of that? Well, the closer the new colours are to the old colours, the easier the next step is … the masking step.
So, once I was happy with the gradient, I pressed OK a couple of times to get out of all those little windows, back to my photo. Then all that remained was to zoom in, choose a small white brush, and mask the gradient properly around the subject:

Voila! Job done. A bit cheesy? Yes? Dead easy? Also yes. Gotta love that.
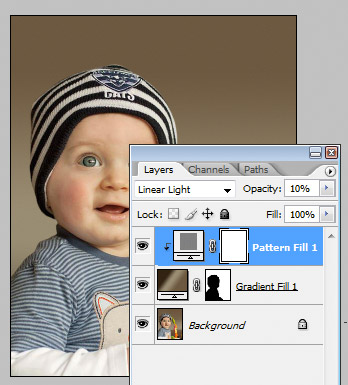
One more thing. Any time you add a gradient, you should also add a bit of noise. Read this tutorial about making a noise layer.
PS: There is more important information about gradient layers, plus a video, in this article.