Minimising soft shadows
Previously I have posted a method for softening hard-edged shadows. It’s a terrible job, but unavoidable sometimes. Hard-edged shadows are cast by something very close to the subject – a hat, or whatever.
In this post I'll show you another shadow problem, but not so severe. Soft-edged shadows are cast by something further away, and are a little easier to fix. I want to state right up front that this is not a magic 100% fix. The goal is simply to lessen the strength of the shadow areas, so they are not so offensive.
This demonstration was recorded in Photoshop CS5, but applies to all versions of Photoshop and Elements.
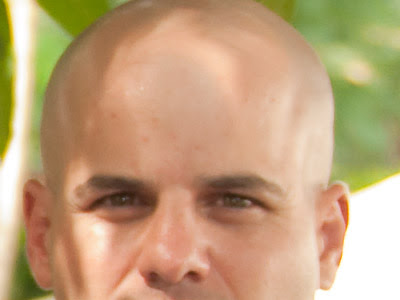
Here’s a wedding party photo taken under trees. Most of the subjects escaped the dappled shadows, but this guy on the end was right in harm’s way.
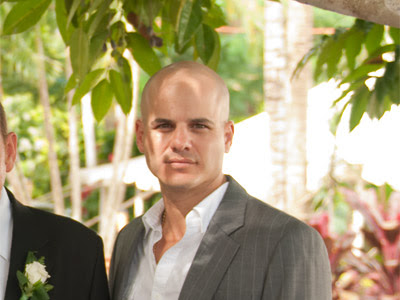
For something like this to be fixable, make sure you don’t have any channel clipping in the skin! I can’t stress this enough. Process the Raw photo a little underexposed if you have to, but just make sure you avoid any skin blowouts.
First, the Levels layer.
Add a Levels adjustment layer ...
... then immediately press Ctrl I (Cmd I on a Mac) to invert the mask:
Then make an aggressive midtone adjustment to the left, to 2.50:
In normal circumstances, this would lighten the photo like crazy. However, nothing happens, because of course the adjustment is presently hidden by a black mask. This is why you can’t see a histogram in that Levels dialog.
Next, the Hue/Saturation layer
Add a Hue/Saturation adjustment layer ...
… and immediately clip it to the Levels layer. In Photoshop, this is done by pressing Ctrl Alt G. In Elements, it’s simply Ctrl G. (On a Mac, replace Ctrl and Alt with Cmd and Opt of course.) When it’s clipped, you can see the little down arrow linking the Hue/Sat layer with the Levels one; and the title of the Levels layer is underlined:

(You'll learn a lot more about layer clipping in my Layers & Masks Class. Clipped layers are useful for so many different things.)
Get to work
Return to the Levels layer ...
… and choose the Brush Tool, press D to make sure you are painting with white, and reduce the brush’s opacity to 10%. Then you're ready to begin.

Here's how I fixed this photo:
I started with a strong, dominant shadow area on the subject’s forehead. I gradually painted over the area, so it became lighter.
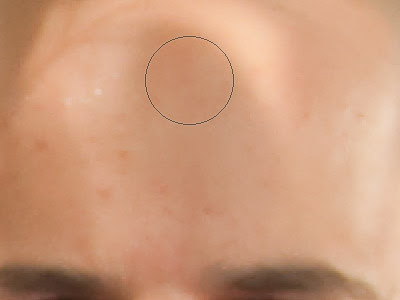
Here’s what I did to that patch on his forehead. It’s lighter, but you’ll see it’s strangely grey. This is a side-effect of lightening using Levels. This is where that Hue/Sat layer comes in.
I chose the Hue/Sat layer …
… and increased the saturation until that area that I’d worked on no longer looked so undersaturated. In this case, I found that +35 seemed to work ok. Of course if I took it too far, I got a crazy over-saturated patch, and that ain’t good!
And there’s not much more to tell. I clicked onto the Levels layer mask again, and just kept painting away at the various shadow areas to lighten them gradually.
Sometimes I would realise I’d gone a bit too light, so I’d press X to flip my colour to black and paint to correct the problem, then press D, and keep going.
I have a graphics tablet for this kind of work, and it’s great. A mouse can do it too, of course, but there’s nothing like the accuracy of a pen in your hand for this sort of stuff.
Here’s the final result. I warned you at the start that it wouldn’t be a magical 100% fix. It’s just a gentle minimisation of the problem.