Using a Photo Filter layer to fix casts
There are lots of ways to fix colour casts using Photoshop. Filters are only one. If you have another method which works for you (eg Curves, Color Balance, Selective Color), this tutorial doesn’t intend to sway your opinion. Stick with what you know.
But this works for me, so it’s time I shared it.
At the outset, I must remind you NOT to attempt to fix casts by adjusting white balance. Raw edits such as white balance are for the whole photo … the "greater good", if you like. Try to turn a blind eye to areas of cast while you’re choosing the correct white balance for the overall photo. (I know, I know, it can be hard.) The truth is, sometimes choosing the correct white balance will make casts look even worse, and this will scare you. Stay strong, friend. Photoshop is the place to worry about casts, not your raw program.
This tutorial is demonstrated in Photoshop CS2, but the method works just the same in all versions of Photoshop and Elements. It assumes a basic knowledge of adjustment layers and masks, which are the beating heart of Photoshop – if you can not easily follow these instructions, I urge you to consider my little Layers & Masks Class.
The other thing you need is familiarity with "colour pairs". Every colour has its opposite colour on the colour wheel:
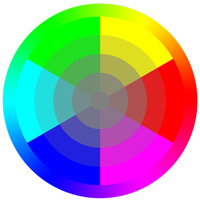
Red opposes cyan, green opposes magenta, and blue opposes yellow. (More colloquially, but no less important, "warm" opposes "cool", as we’ll see soon.) So, a cast caused by green grass or trees would be fixed with magenta. A cast coming from a red umbrella would be fixed with cyan. And so on.
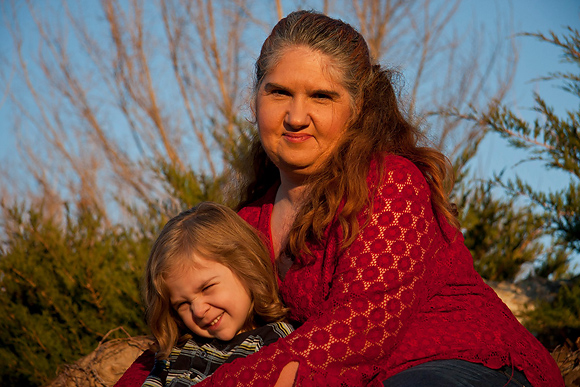
Many thanks to Barbara from Florida for permission to use this photo. As you can see, it’s a lovely warm photo, embracing that afternoon light, but the lady’s makeup makes her look too warm.
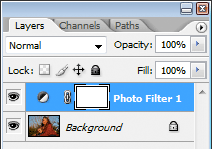
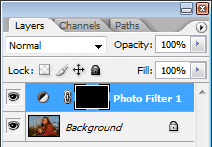
So I begin by adding a Photo Filter adjustment layer:
The Photo Filter interface is very simple – it hasn’t really varied for many versions:
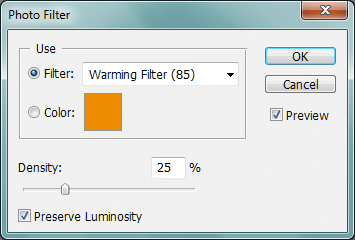
The first thing I do is move the Density slider up to 50%. I do this almost every time, no matter whether I’m dealing with a strong cast or a minor one:
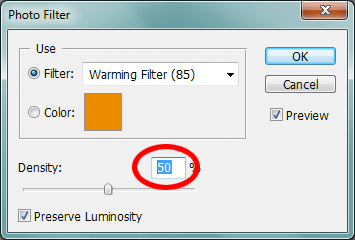
I almost always leave the "Preserve Luminosity" box checked. I only uncheck it in situations where I want to fix the colour cast and darken the area at the same time. This is very rare. (You can see one such example here.)
Now it’s time for me to choose the best colour. It seems to me that her face is too warm … or is it too orange? Or even yellow? If it’s possible to instinctively know which colour to choose in every situation, I haven’t reached that skill level yet; so don’t feel bad if you don’t always know either. Just do what I do – try a few different options.
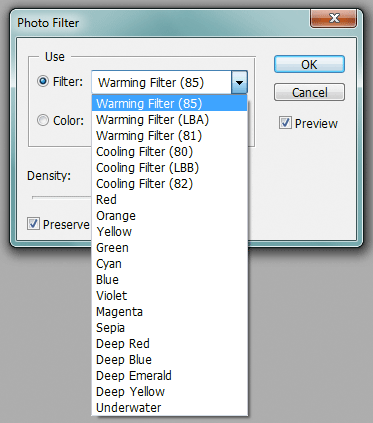
There are three different cooling filters, so I try all of those. I also try the Cyan filter, and the Blue filter. Eventually I decide that "Cooling Filter (82)" is the best option:
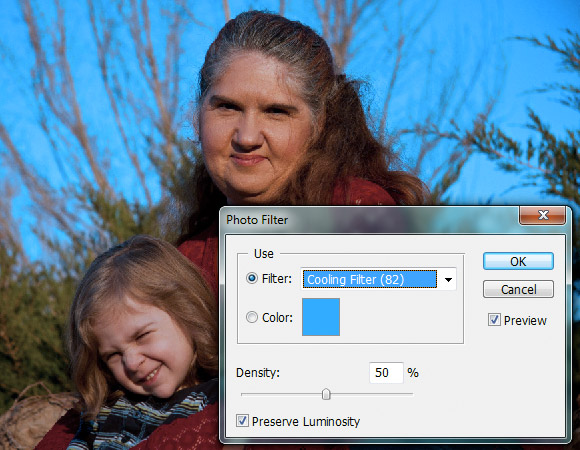
Of course, while I’m playing with the filters, I’m concentrating solely on her face, and ignoring the rest of the photo. Why? Because the rest of the photo is going CRAZY!! The sky is insane, the little girl looks like a smurf, and so on. None of that matters right now – all that matters is choosing the best colour for the problem area.
Then I invert the layer mask:
Then choose my Brush Tool and set it to 10% opacity:

(Sometimes it’s necessary to go down to 5%, or even 3%. But mostly, 10% works well.)
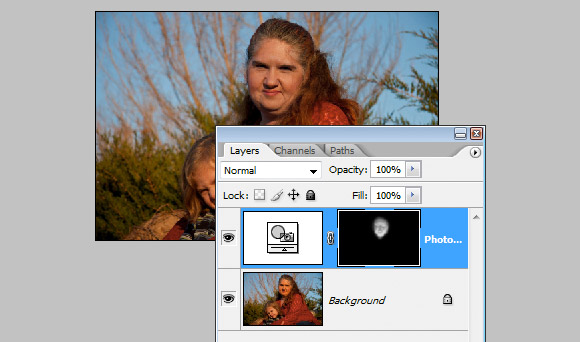
Then I gradually paint on her face to add the cooling where needed, until she looks good:
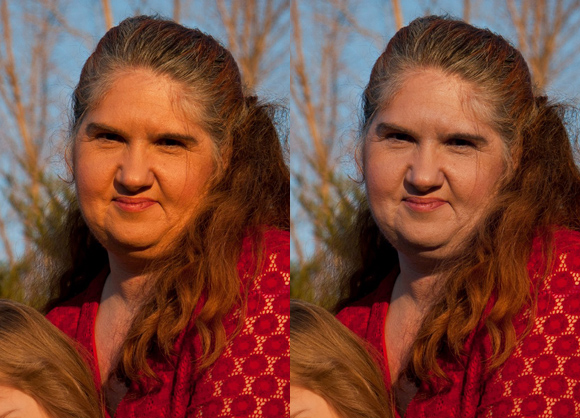
Here’s my finished result (before and after):
Needless to say, if you have trouble following any of these steps, or if you need help choosing the best colour filter for your particular photo, visit me at Ask Damien.
Another example
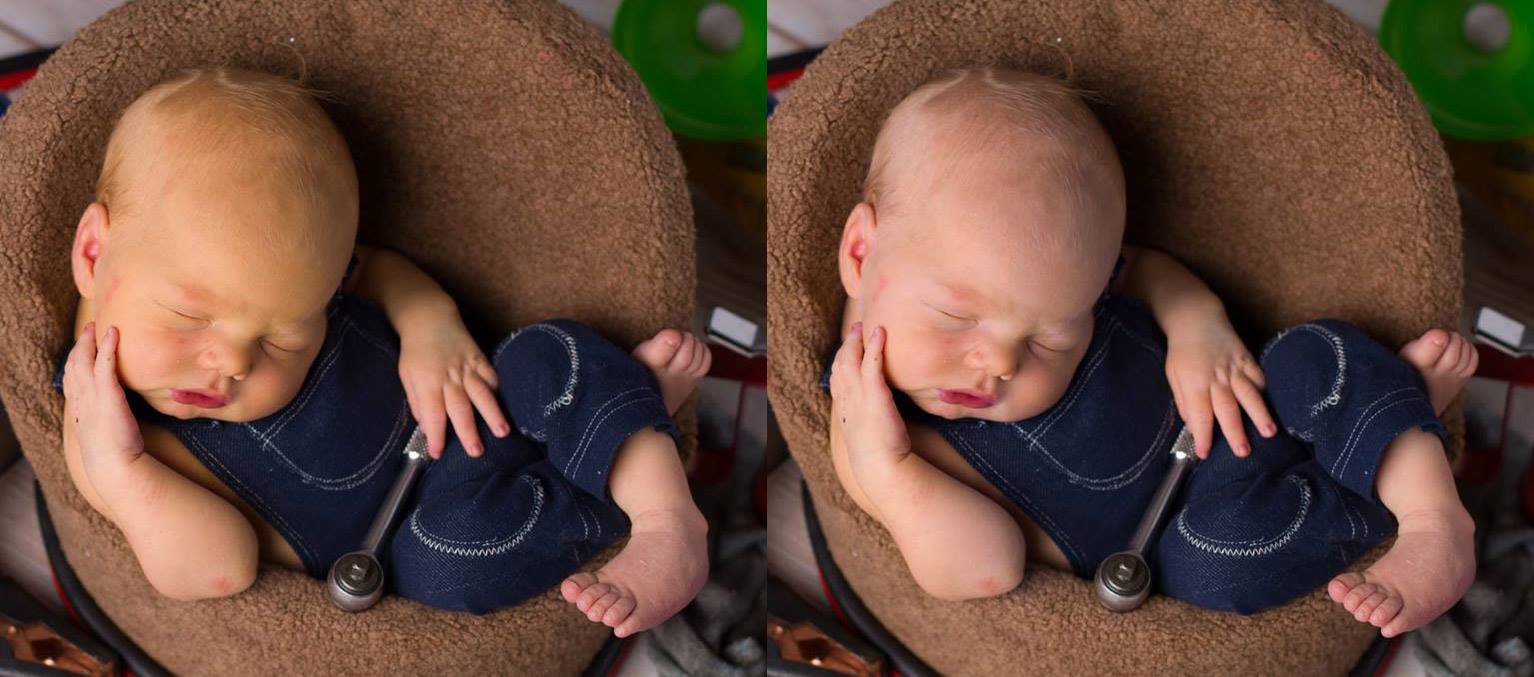
Here's one where I used Photo Filter to fix jaundice:
