
Grabbing a 700 x 700 pixel 100% crop
Often I’ll ask you for a 700x700px 100% crop if we’re discussing noise or focus or any small-detail problems. This tutorial explains how.
Press M to choose your Marquee Tool:
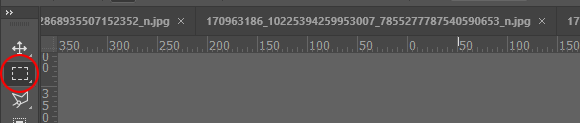
(If the rectangle Marquee isn’t selected by default, click and hold on the tool to get the little flyout menu, and choose it there.)
In the Options Bar, change the Style to "Fixed Size":

IMPORTANT: Make sure the Feather is 0px:

Enter "700px" in both the Width and Height fields:

IMPORTANT: Always type the "px". Otherwise it might default to 700 inches or 700 centimeters or something.
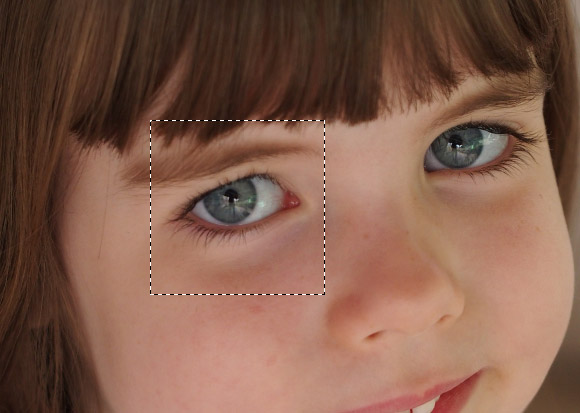
Single-click on your photo and the 700×700 marching ants box will appear. Then click in the middle of it to drag it to exactly where you want it:
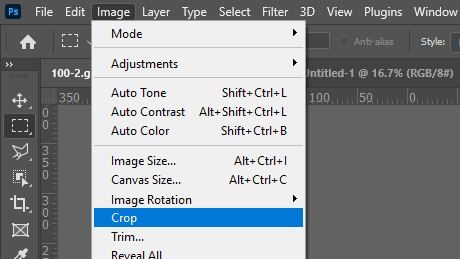
Go to the Image menu and choose Crop:
And there it is – your 700×700 piece of image:
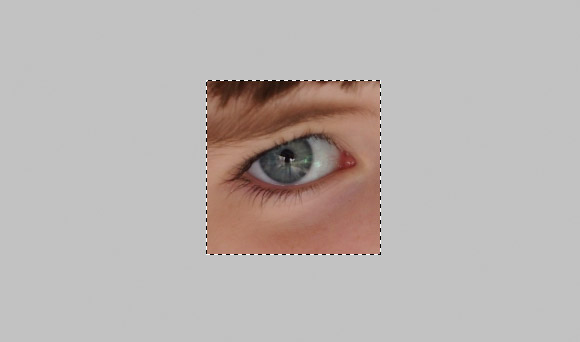
Now save it as a jpeg, ready to upload for me to see.