
Finding the perfect resolution for scanned photos
When we're scanning old photos, it goes without saying that we never want the files to be too-low resolution. BUT what most people don't realise is that the files must not be too-high resolution either. Too-large files take longer to edit and of course take up more space on your hard drive.
More importantly, they are more difficult to edit because functions like noise removal, Despeckle, and Dust & Scratches don't work. In short, too-large files make you work harder for no benefit.
For a long time I used to painstakingly scan photos at multiple resolutions, then compare the files to find the best one. Thankfully I now have a much slicker method, which I'm pleased to share with you.
The scanning
Remember to follow all the important scanning guidelines. But I have to admit that, out of sheer laziness, I pretty much do all my scanning at 1200ppi now.
Note: Even if you didn't scan the photo yourself (eg a family member sent it to you) you can still follow this workflow. But of course it's usually better to do the scanning yourself.
The action
The procedure
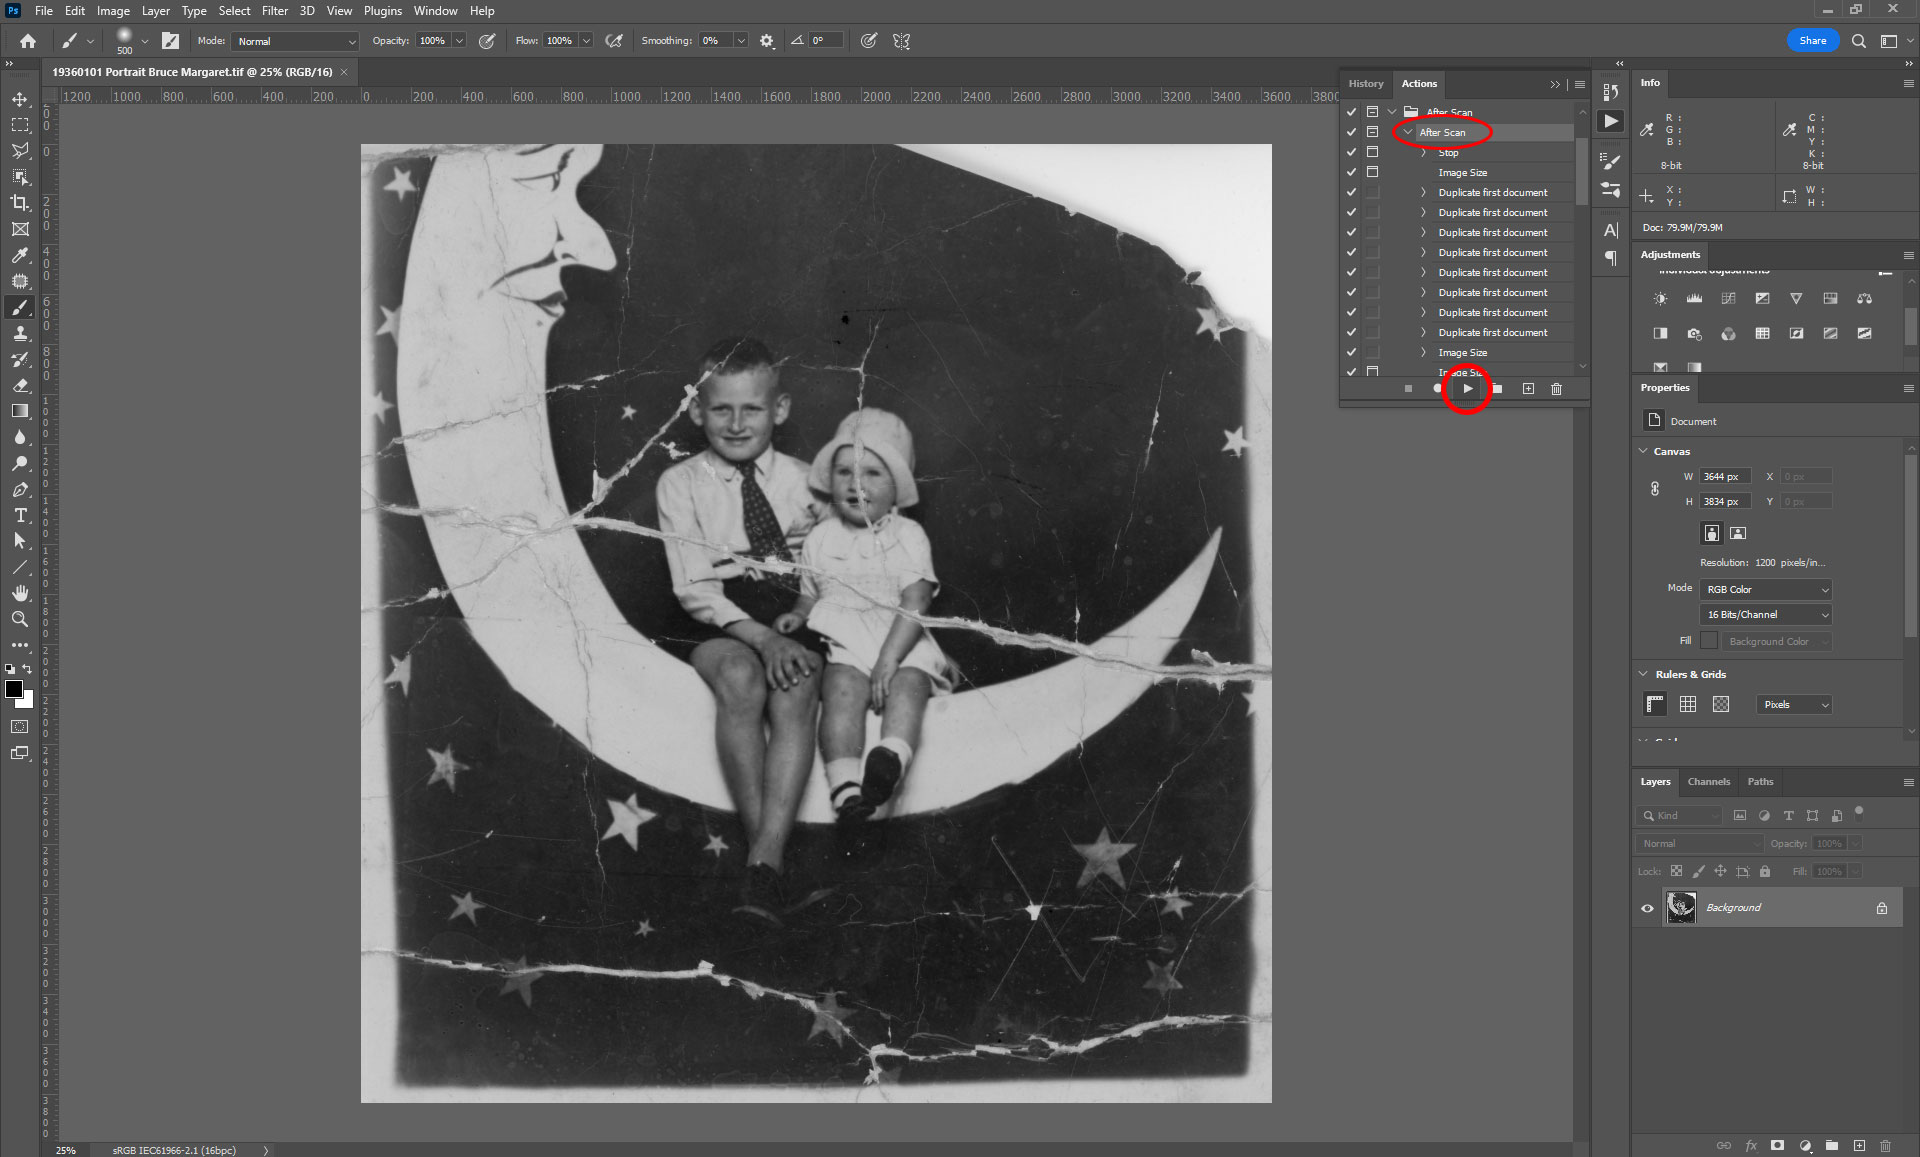
Open the scanned file in Photoshop, then run the action.
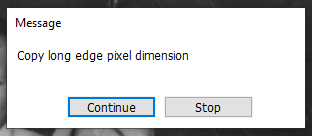
Immediately this little window will pop up, telling you what to do next. Press "Continue" ...
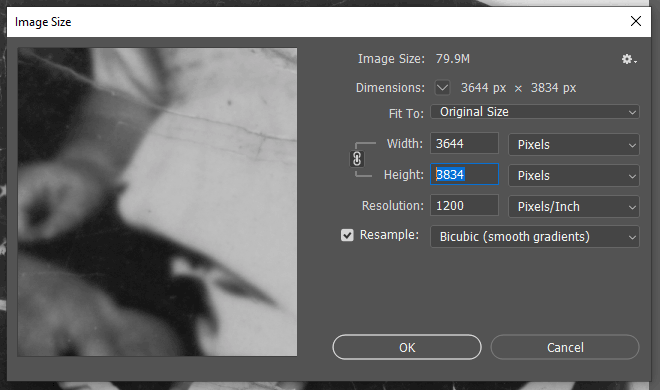
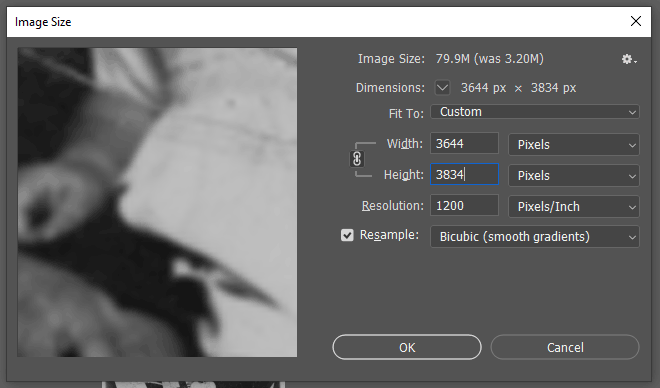
... and then the Image Size window will open. Make sure the units are showing in pixels! Not inches, or centimetres, or anything else.
Following the prior instructions, select the larger of the two dimensions (the Height in my example) then Ctrl/Cmd C to copy that number.
When you press OK, the action will quickly create eight new copies of your file, named "90%" to "20%". You'll see them in a row across the top of your screen.
Then it will open the Image Size window again. Select the long edge value again ...
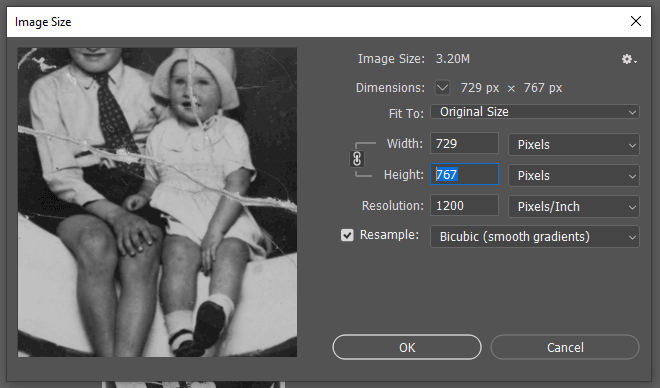
... and paste your copied value:
Repeat seven more times
After you press OK to that Image Size window, another one will pop up for the next image, ready for you to paste your number again. Then again, and again, until you've sized all of the files.
Now for the decision-making
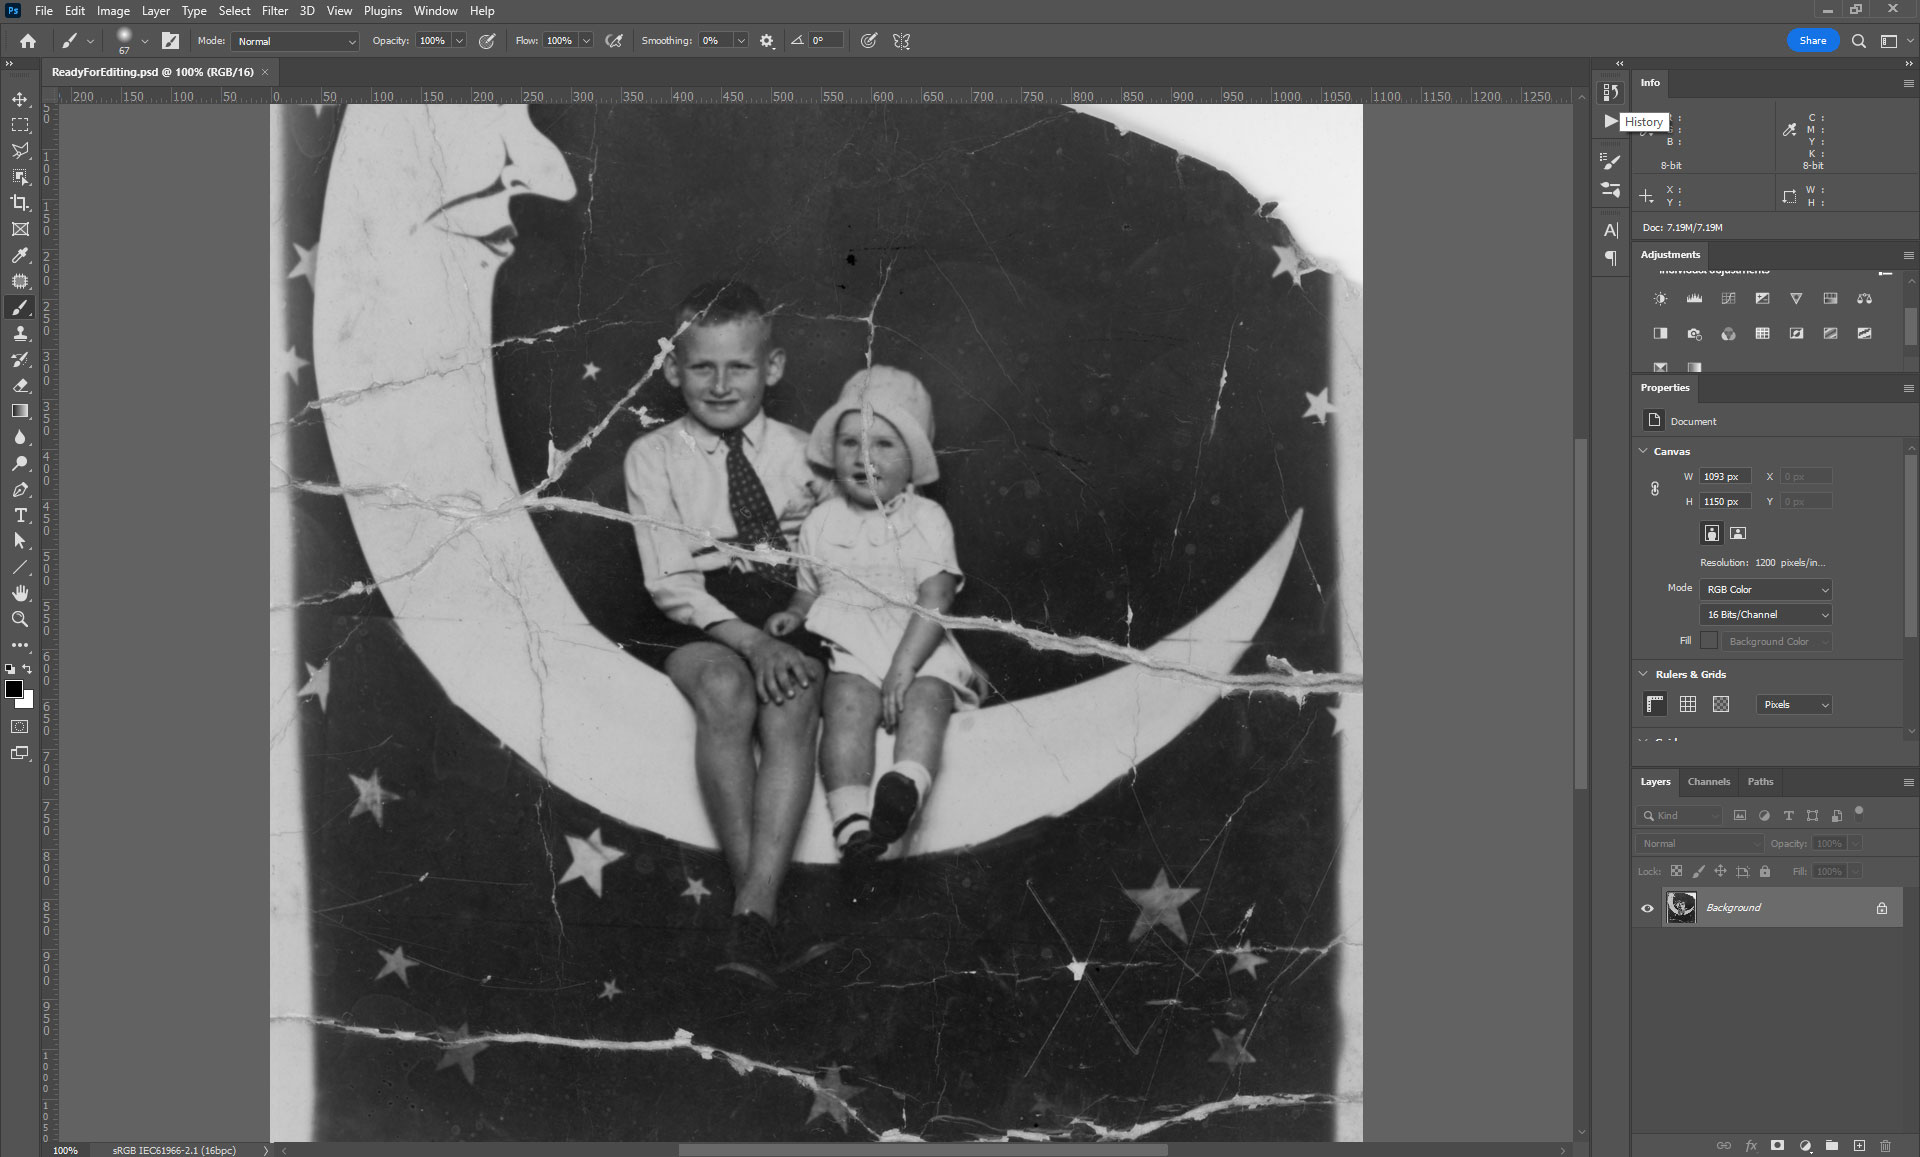
Eventually you'll arrive back at the original image, and you'll be zoomed in to 100% view:
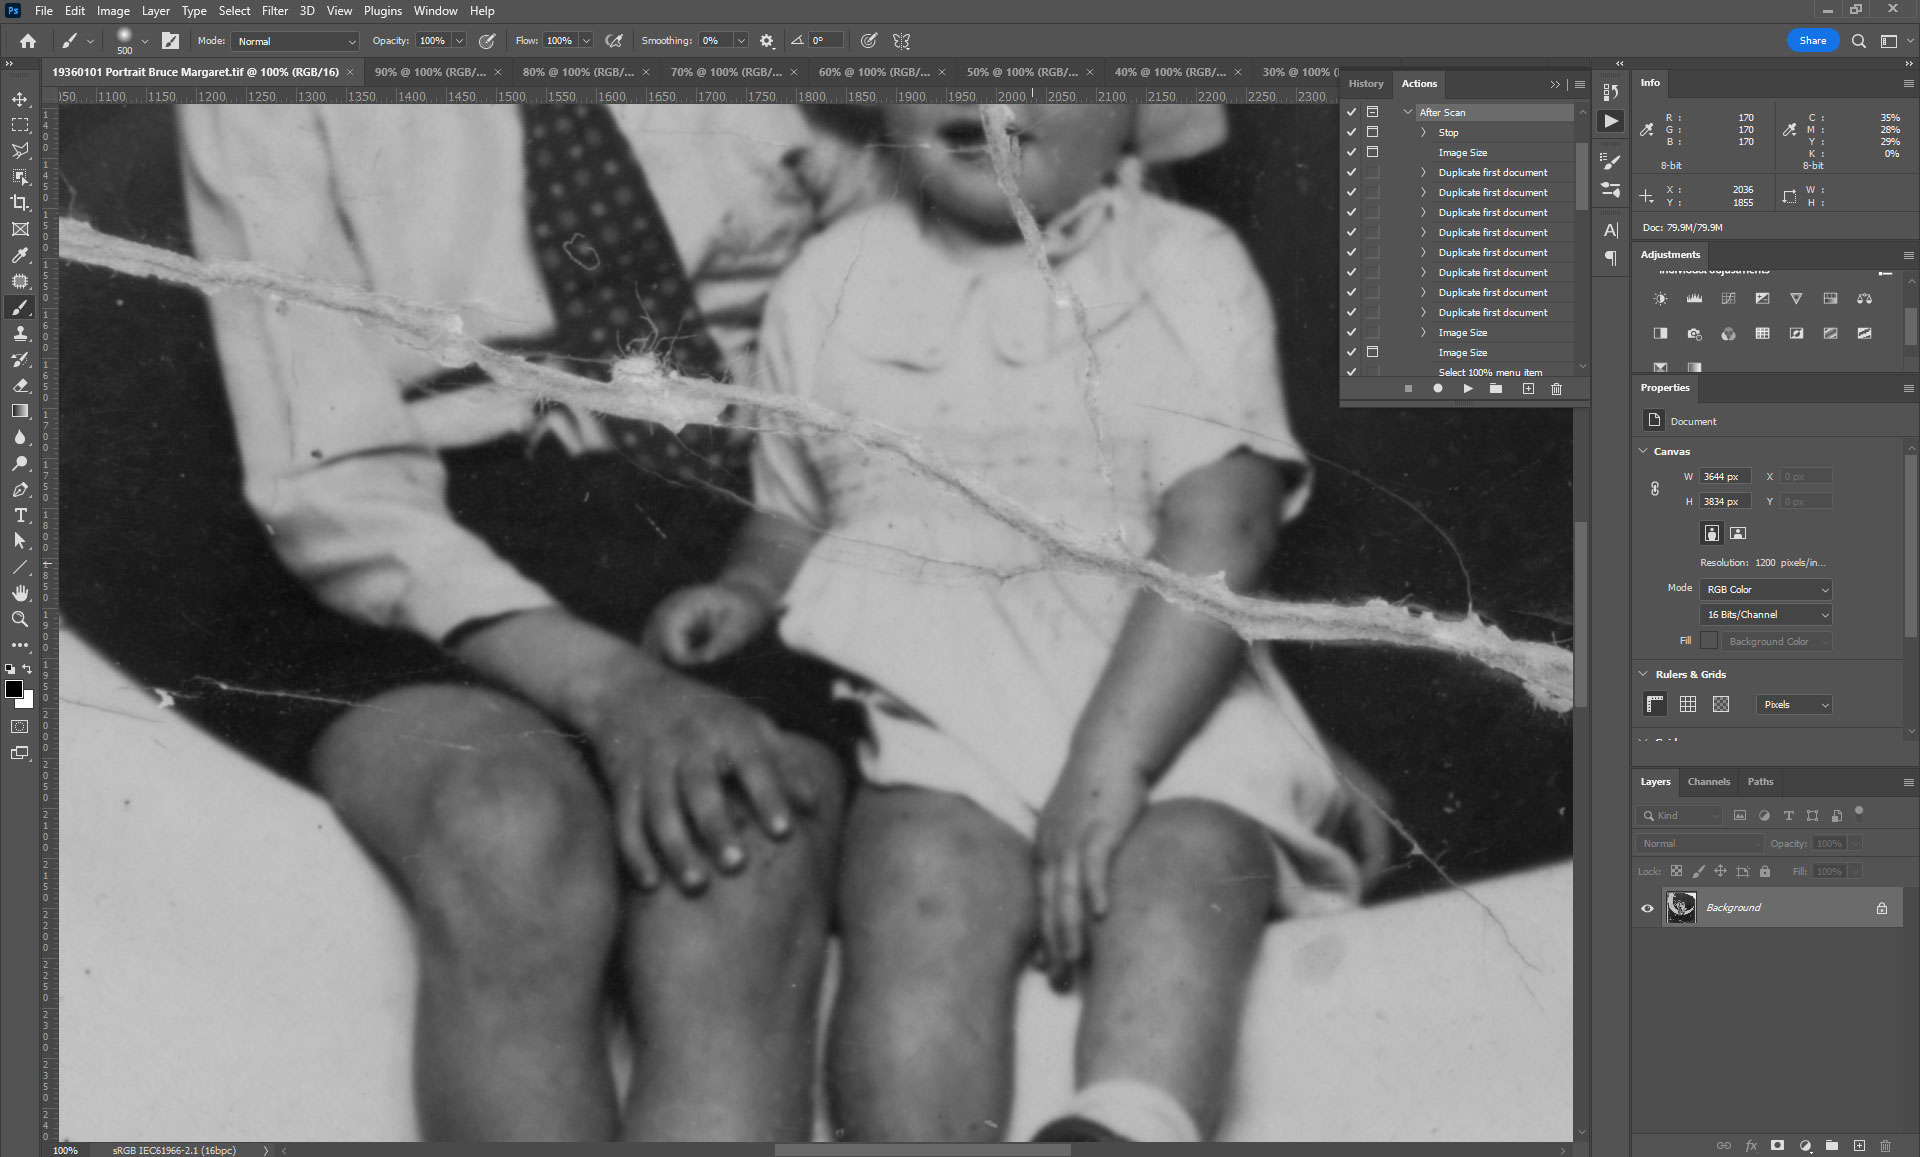
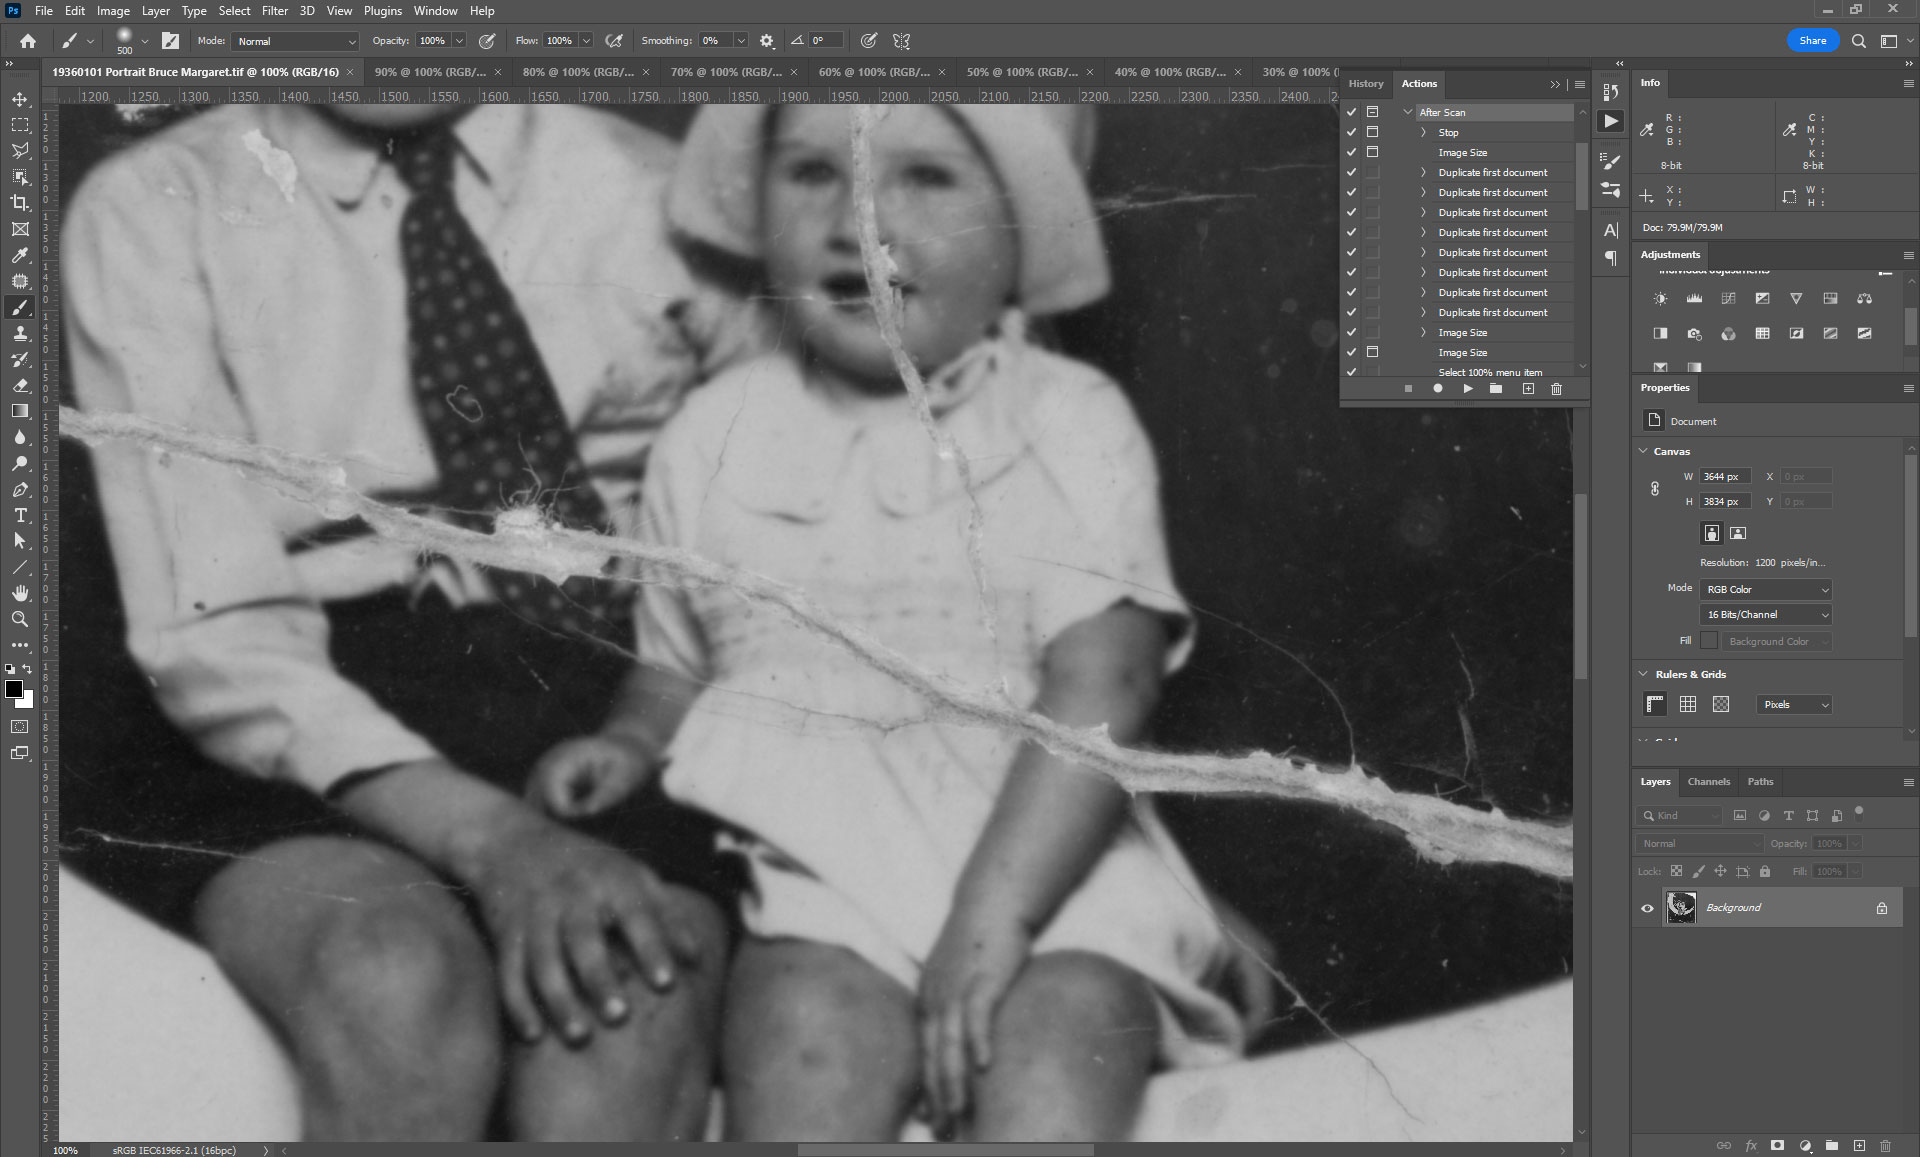
Using your Hand Tool (hold down space bar) pan around so you can see the most in-focus part of the photo. Old photos often don't have very good focus, but choose the sharpest area you can find. In this example I chose a view of the hands, the spotted tie, and one of the faces:
IMPORTANT NOTE: Remember that you're looking for the best-focused part of the photo, not the damage. If the photo has scratches and spots they'll probably be sharper than the photo detail itself, but ignore them. Only look at the photo.
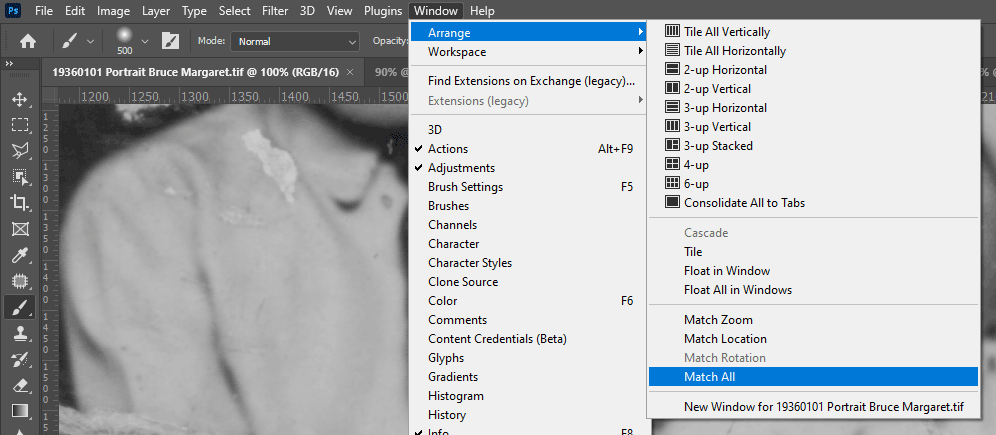
Next, choose "Match All" from the Window menu. This ensures that you'll be looking at the same in-focus area on all of the files.
Now it's time to compare all the files. Your goal is to find the first file which exactly matches the original file. You'll begin with the last file in the row, named "20%".
Click between the first and last files, and assess what you see. Remember: You're looking at photo detail, not damage detail.

The above low-res GIF file won't allow you to see what I saw, but I can tell you that the 20% file was actually very close in quality to the original file, just a tiny bit blurrier.
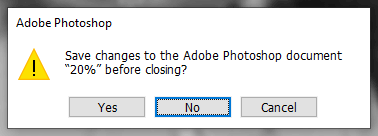
When you decide a file is too blurry, close it. When it asks you if you want to save it, say No:
Then move on to comparing the next one:

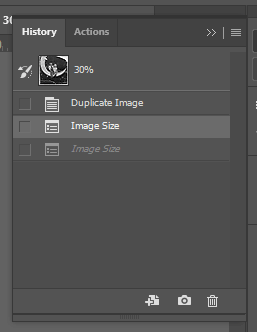
This time I was satisfied with the match. I could see no change in photo detail between the original file and the 30% file. A very good result.
Of course it won't be the 30% one every time. Often you have to keep checking and discarding further up the line, until you find the perfect one.
Once you find the perfect one, go to the History panel. There are two consecutive "Image Size" steps. Revert back to the first one:
This will make the photo reduce size on screen. Don't panic, this is a good thing. This is what we have been aiming for - to reduce the scanned file to its ideal size.
Save it
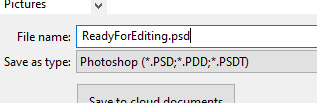
Now you can save it as a PSD file, ready to begin your editing work:
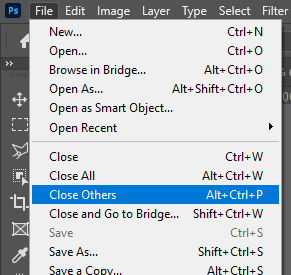
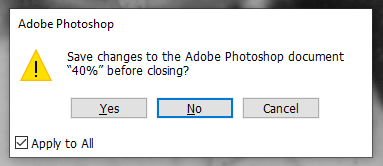
Finally, you can close all the other files on screen. They're no longer needed. If your version of Photoshop has it, the "Close Others"" feature is very handy for this:
Remember to tick "Apply to All" before clicking "No" when it asks you about saving:
Now you've just got the one file, perfectly sized, ready to start work on.
Footnotes
Most of you are probably reading this wondering if I've gone mad. Why would you shrink a file before editing it? I admit I'm serving this dish with a large side of "Trust me".
As I said at the beginning, the main reason is the Dust & Scratches filter, and related despeckling functions. They only work effectively if the dust and scratches are the correct size. Believe me, this resizing step will make your repair work SO much easier.
What about printing, Damien? How can I print the photo if I've reduced its size? Don't worry. Printing old photos is exactly the same as printing new photos - when the editing is finished, you can enlarge to whatever print size you desire, creating whatever disposable jpegs you need.