Creating an animated GIF in Photoshop
People sometimes ask me how I save my edits as animated gifs, eg here. It's quite easy, and good fun.
Notes:
- This article demonstrates Photoshop CC, but the process was very similar in all older versions of Photoshop too.
- It doesn't work in Elements, sorry.
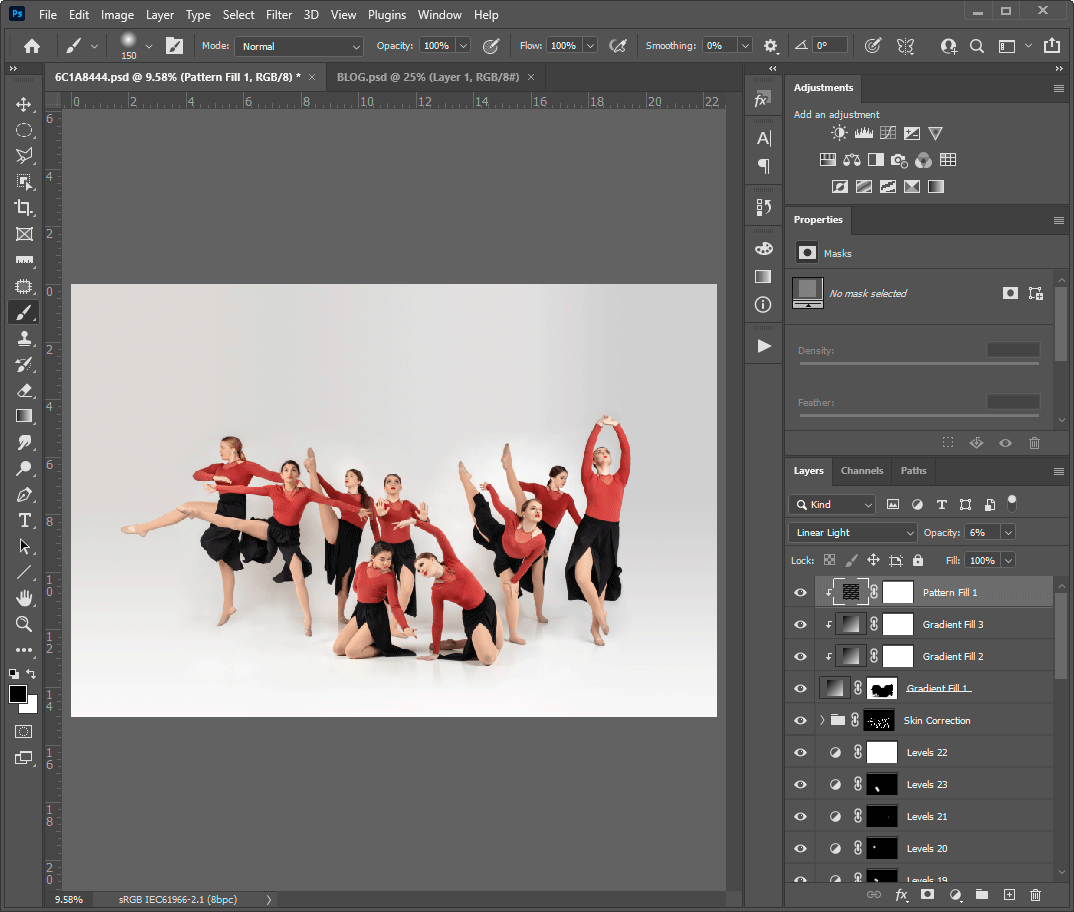
Open your edited photo
For this example I'm using a dance photo I edited.
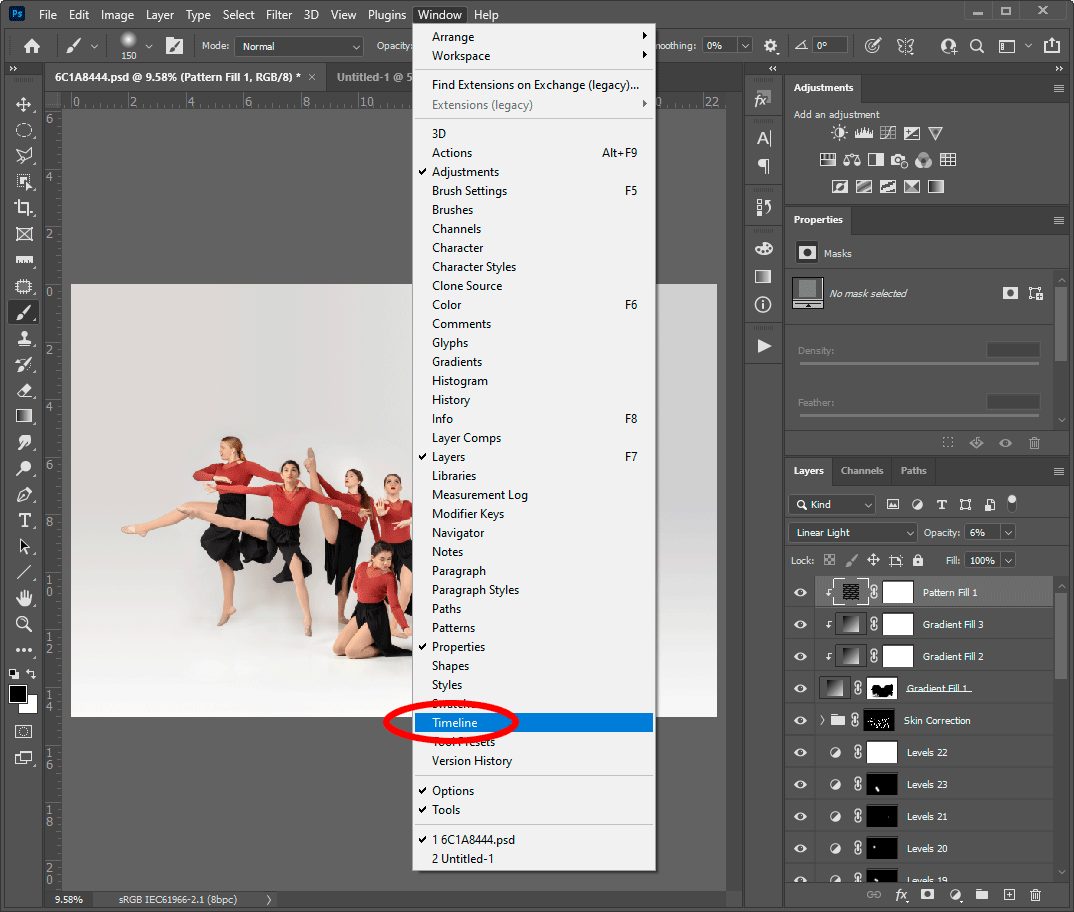
Open the Timeline panel
As with all panels, you find it in the Window menu:
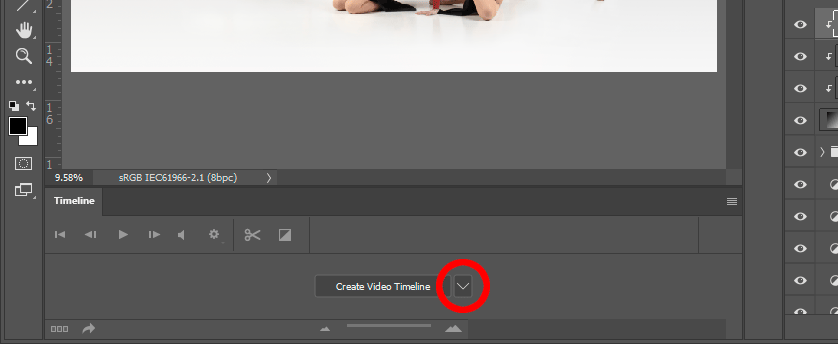
Create the animation
By default you might find that your panel is set to "Create Video Timeline". Click on the little arrow to choose "Create Frame Animation" instead.
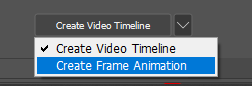
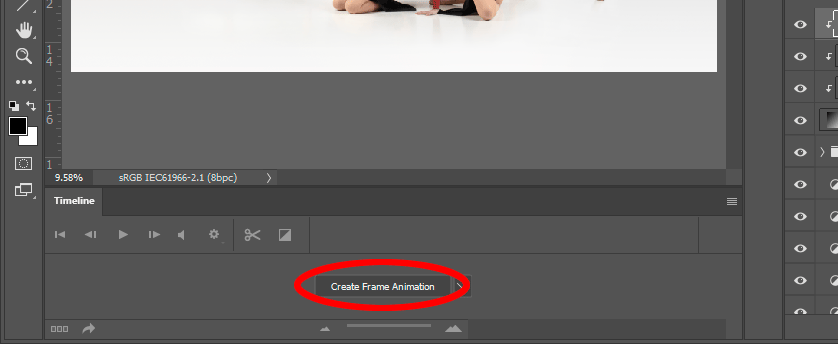
Then press the "Create Frame Animation" button to begin:
Set the frame time
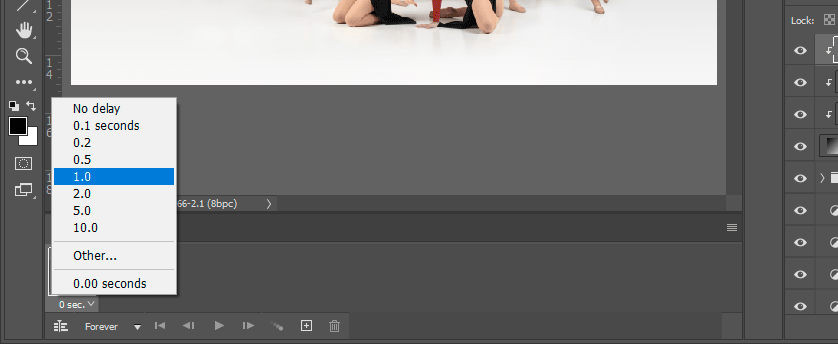
At first, your animation timeline is just one frame, with a delay time of "0 seconds", which is rather silly I think. Your before-and-after will be lightning fast, and nobody will be able to see it!
So the first thing to do is click on the little arrow below the frame and give it a slower time. I usually use 1.0 seconds, but of course you can make yours faster or slower as you wish.
Of course you can change the speed again later if you need to.
Add the next frame
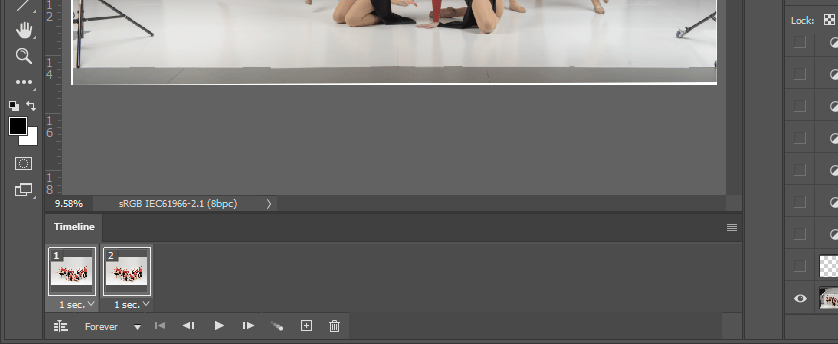
An animation with only one frame is not an animation at all! So press the "+" button to add a second frame:

Now you will have two identical frames, both with a speed of 1 second (or whatever time you chose):
Make them different
An animation with two identical frames is still not an animation, is it? The first frame needs to be the "before the edit", and the second frame the "after the edit".
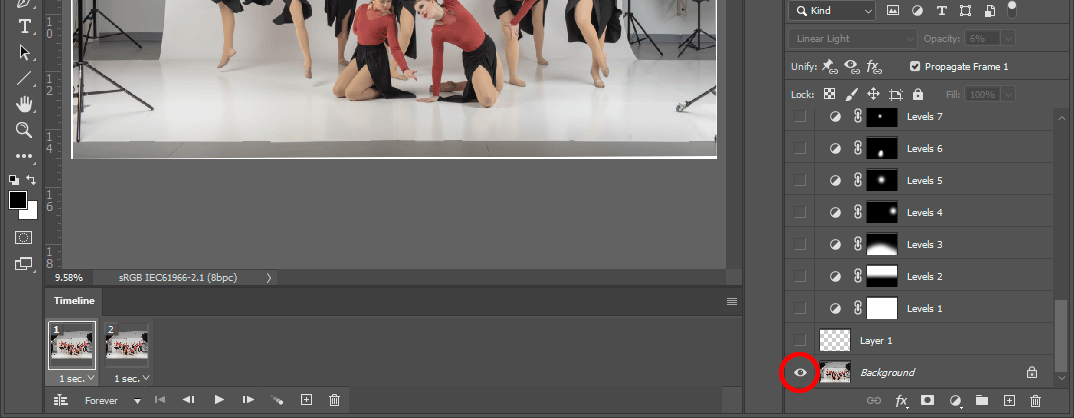
So select the first frame, then go to the Layers Panel and Alt-click the eye of the Background layer. This will turn off all the other layers, leaving you with only the original photo visible:
Then select the second frame, and Alt-click the eye of the Background layer again, to turn all the layers back on.
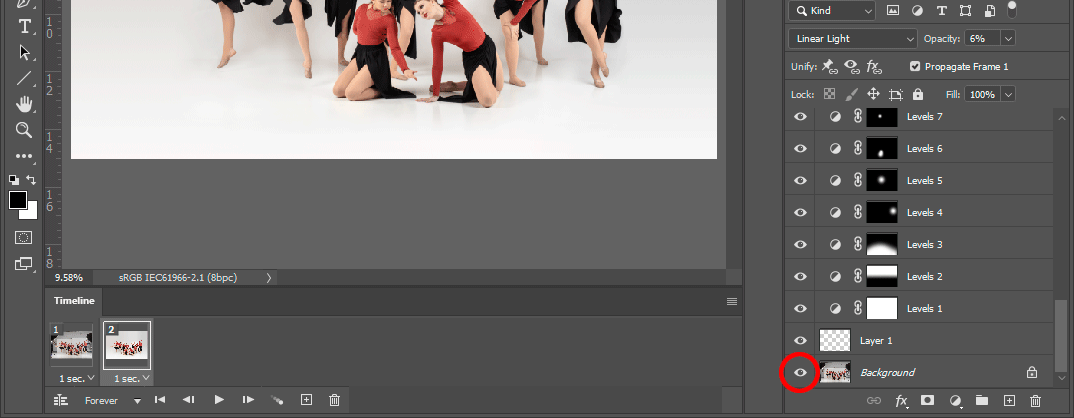
Now, finally, your two frames will look different.
Test it
Hit the Play button to watch your animation.
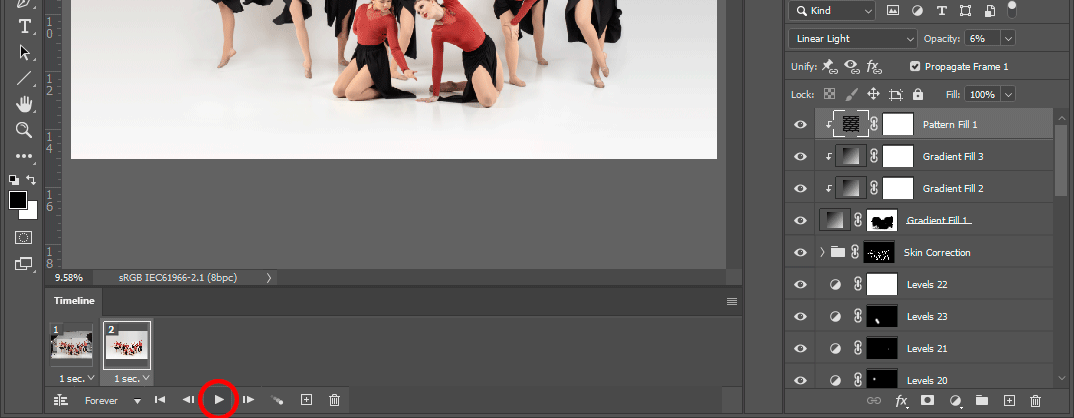
If you're unhappy with the speed, select both frames then click below one of them to choose a faster or slower time.
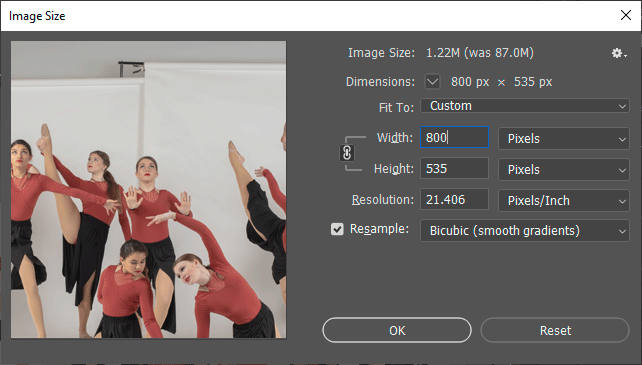
Resize for web
Go to your Image Size dialog and choose an appropriate pixel width. I've chosen 800px for this demonstration.
Save it
Hit Alt Shift Ctrl S, or go via the File menu as shown, to get the Save for Web window.
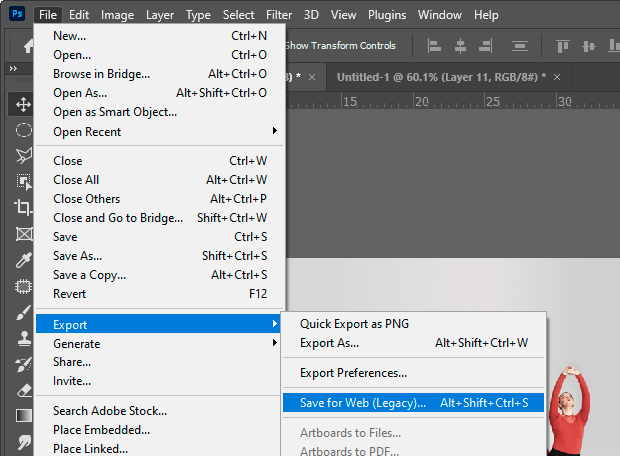
Choose the "GIF 128 Dithered" preset ...
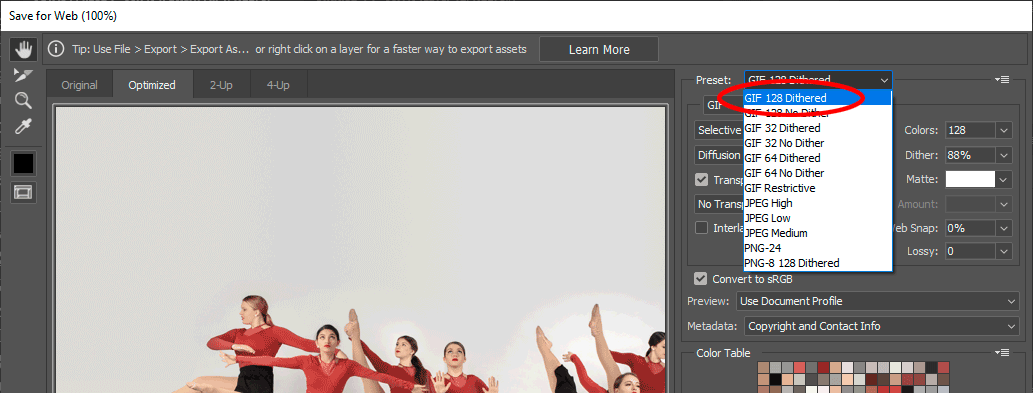
... and then make these two changes:
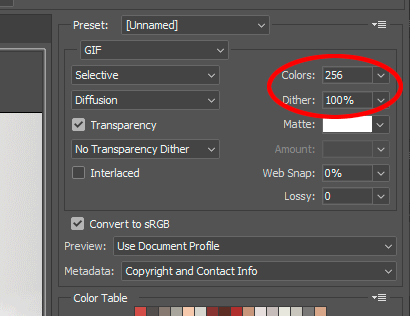
Then press the "Save" button to save your gif file to your hard drive.
Notes:
Choosing the maximum amount of colour (256) and the maximum amount of dither (100%) makes for maximum file size, but I really think it's worth it. Everyone understands that gif files aren't high quality, but this way you're making it the best quality it can be in the circumstances.
If these settings give you a file that's too big for your website to handle, please don't change the colours or the dither. Go back to the resize step and make your photo dimensions smaller instead.
View it
Go to your web browser, open a new tab, and press Ctrl O to open your gif file from wherever you saved it.
If you're happy with it, you can upload it to social media or wherever you want it to go.
Close the master file
Back in Photoshop, close your file without saving it! Please don't accidentally save the tiny resized version.
Had fun?
I hope you enjoyed this tutorial. As you can see, I've only scratched the surface of a very feature-rich panel. You can make animations with dozens of frames, of varying time delays, not to mention fancy stuff like tweening. The options are endless!
I mostly use this feature to create gymnastics animations, which is a little side job of mine.