
Simple Lens Blur tutorial
There are a number of ways to approach Photoshop’s powerful "Lens Blur" function, some of them quite complex. In this tutorial, I’ll give you an introductory peek at it, and you can explore and play further.
(Elements users, this isn’t for you, sorry. This is only a Photoshop feature.)
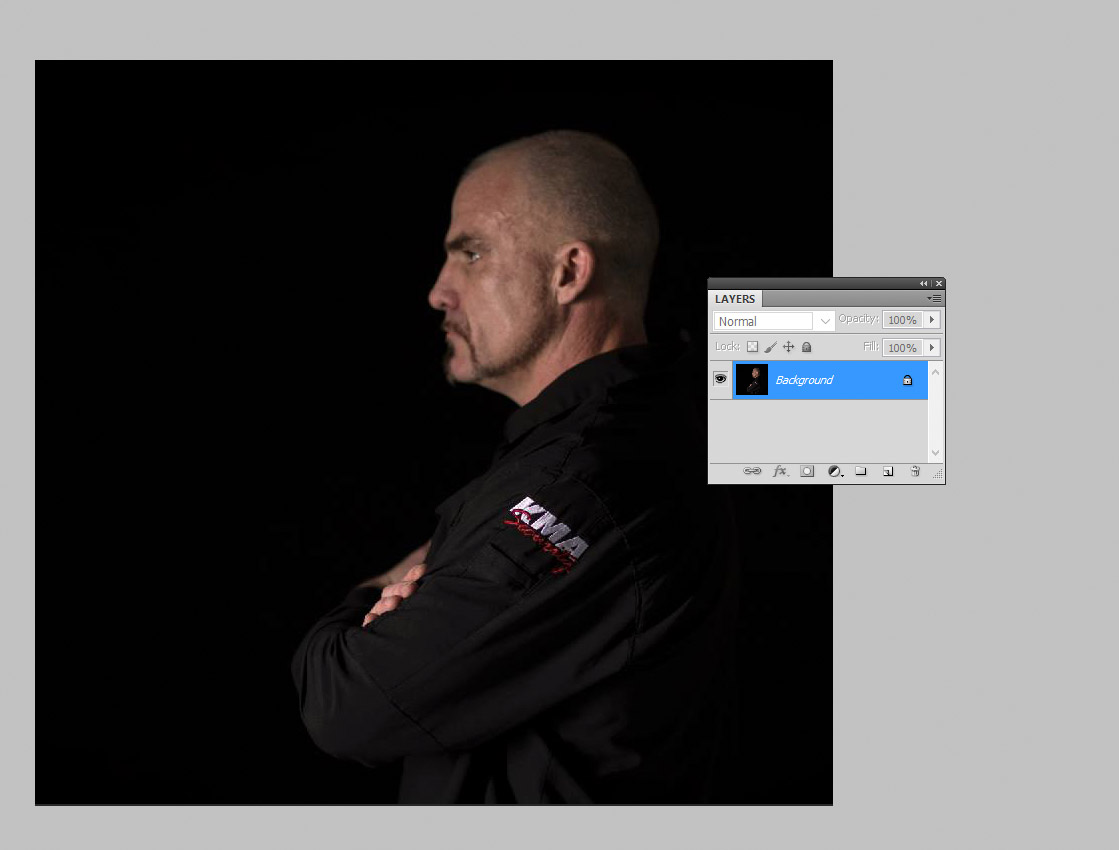
Judith posted in Ask Damien for my help with this photo. She needed the logo in focus but the face out of focus, which would have required a very shallow depth of field that she could not accomplish with her lens that day. So she sought a Photoshop solution.
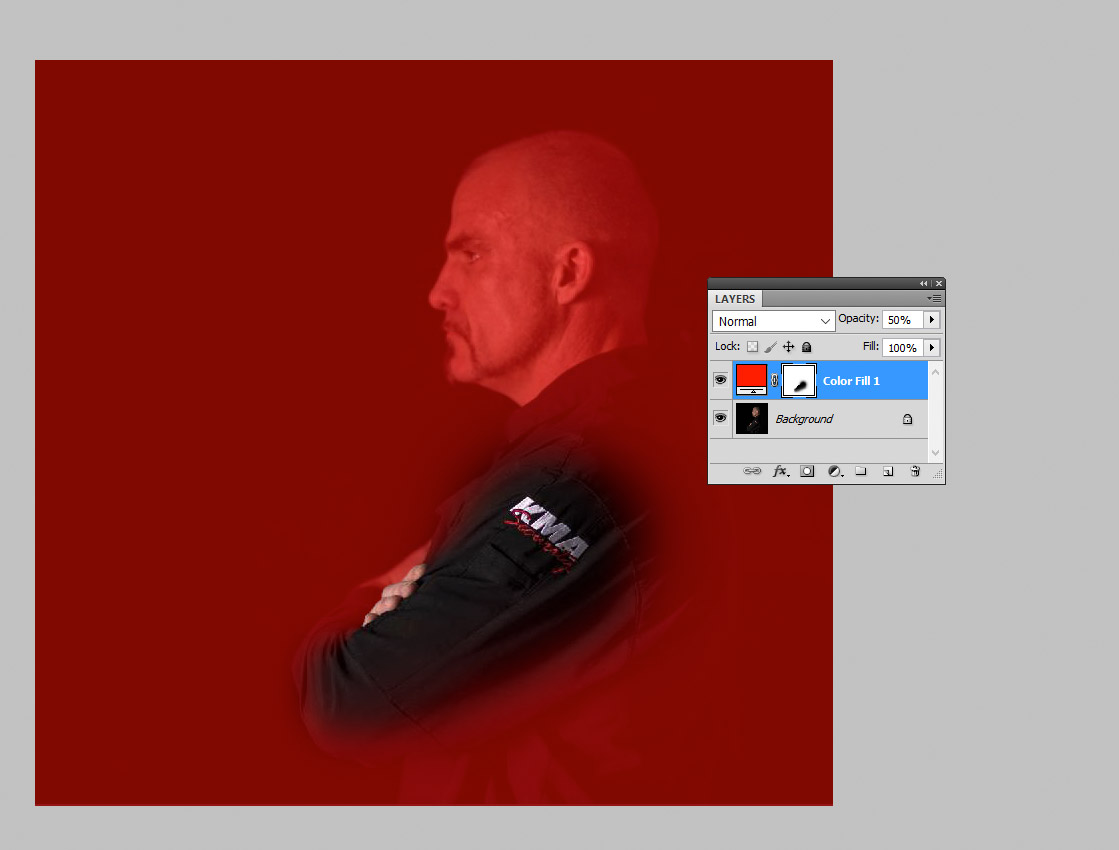
STEP 1: Add a Solid Color layer of bright red. (Well, any colour will do, but red is nice and easy to see.)
STEP 2: Lower the layer’s opacity to 50% or thereabouts.
STEP 3: Carefully paint on the mask to dictate which areas are to be in focus, and which areas are to be blurred. Areas of strong red will be blurred completely; areas of no red will not be blurred at all; and of course any areas which are transitioning from red to no red will be partially blurred.
In this example you can see how I wanted the logo, the front part of the sleeve, and the fingers to remain sharp. I used a nice big soft brush to gently transition out to the blurred area, EXCEPT for around the fingers – I had to be very precise on them:
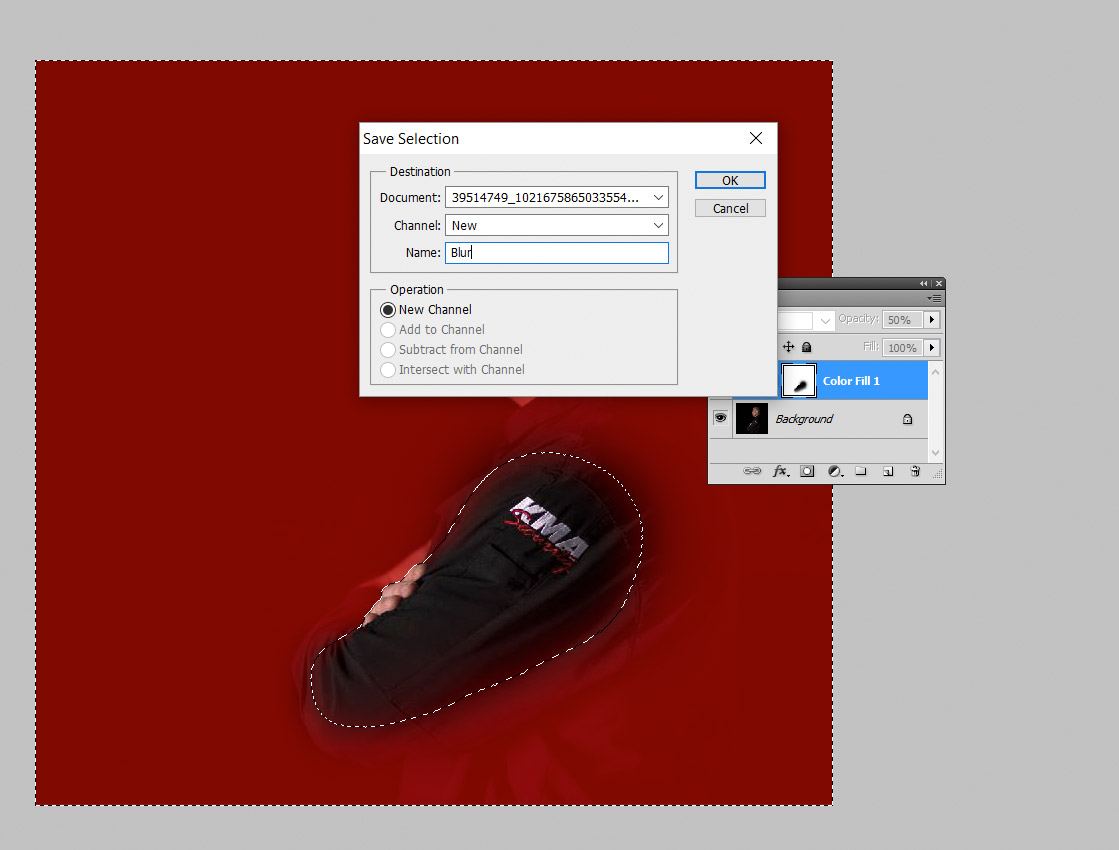
STEP 4: Once happy with the painting, Ctrl-click (PC) or Cmd-click (Mac) on the little mask thumbnail in the Layers panel. This will make marching ants appear around the red area:

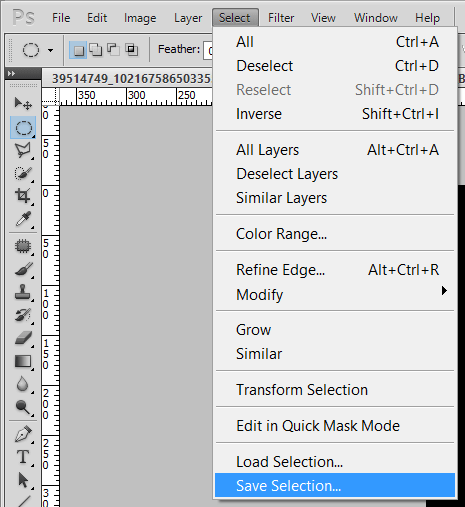
STEP 5: Go to Select>Save Selection:
STEP 6: Name the selection then press OK. (I unimaginatively called it "Blur" but you could call it "Fred" or "Wilma" or anything you like.)
STEP 7: Ctrl D (PC) or Cmd D (Mac) to deselect the marching ants.
STEP 8: Delete the red layer. (Or, if you want to be ultra-safe, maybe just hide it for now, in case you need to tweak it and try again later.)
STEP 9: Choose the Background layer and duplicate it. (And name it "Blur" if you wish.)
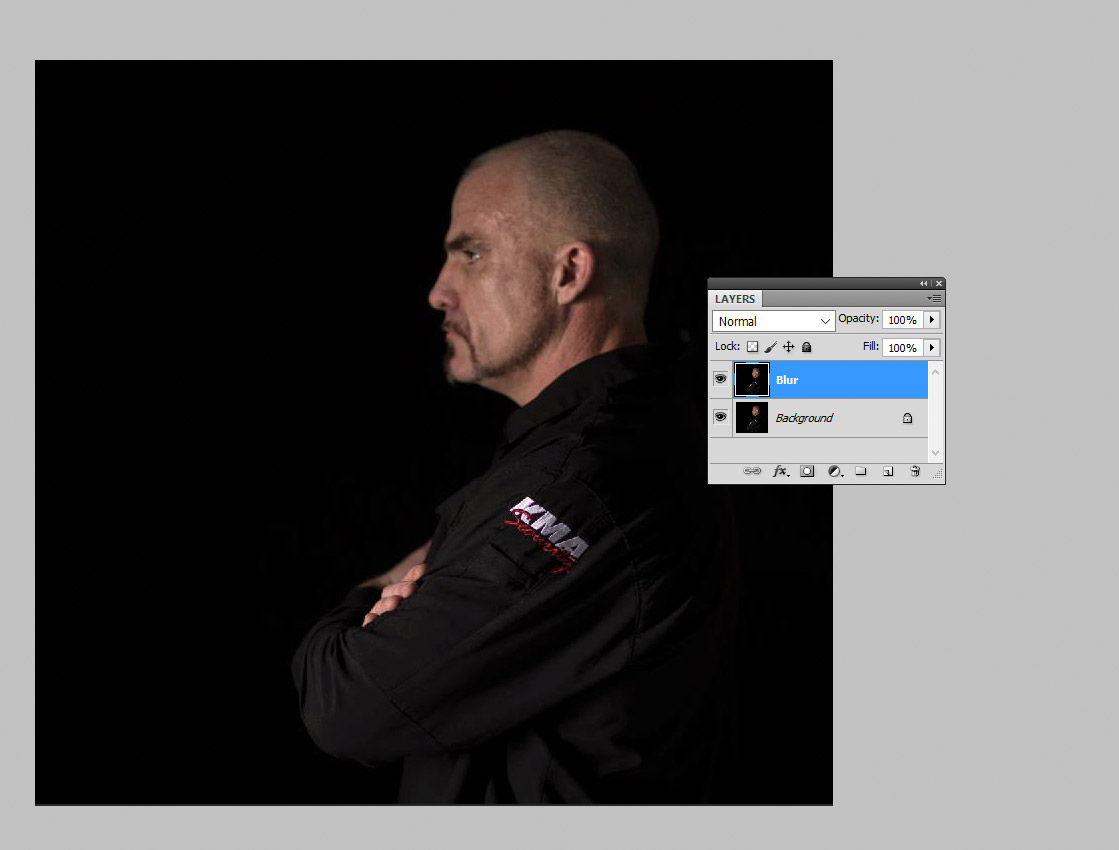
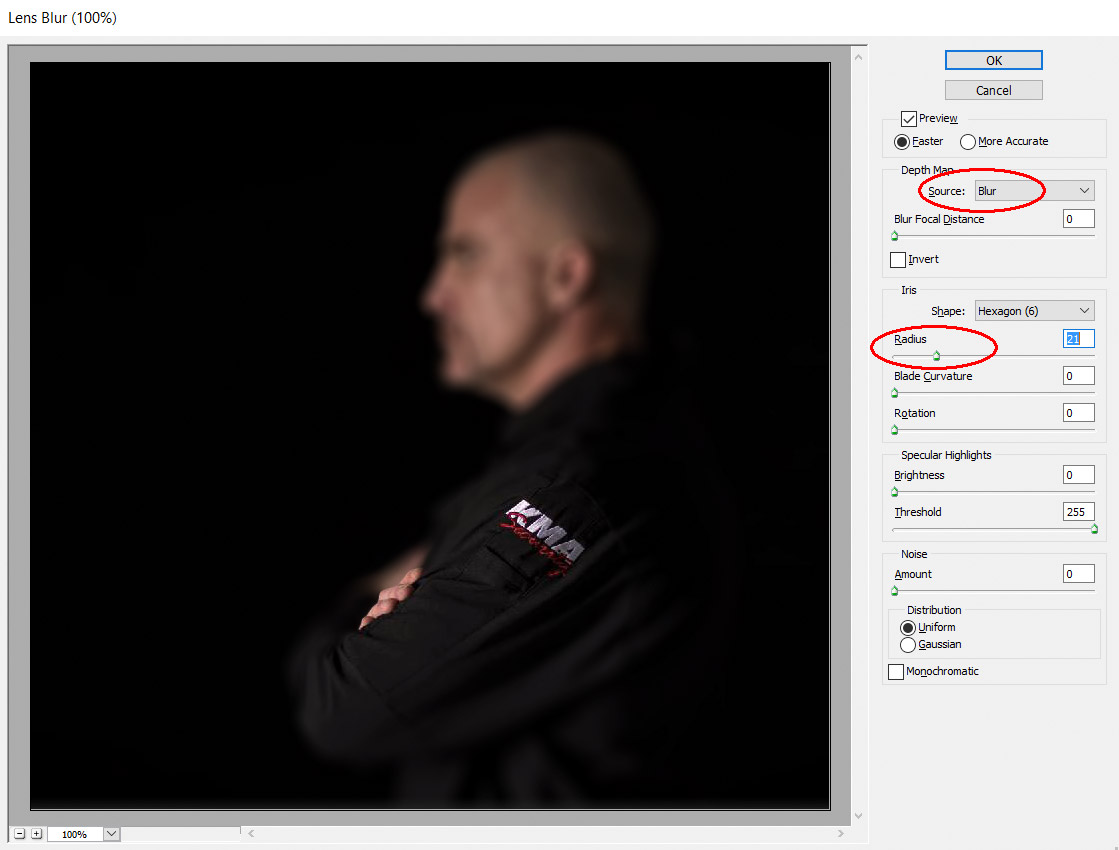
STEP 10: Go to Filter>Blur>Lens Blur:

STEP 11: Make sure the "Source" is set to your saved selection, then adjust the Radius slider to your taste. Voila!
NOTES:
- If the blur is the wrong way around (logo blurred and face sharp) check the "Invert" box.
- Feel free to play with all the other sliders in this window. Have fun!
- This function makes your computer work REALLY hard to keep up. Don’t be worried if there is a delay when you adjust the sliders – it’s quite normal.
- Unfortunately there’s no easy redo with this method. If you find that your red painting wasn’t right, you just have to start over, sorry.