
Curved box method
(This article was recorded with Photoshop CS2, but works in all versions of Photoshop. It doesn't work in Elements, sorry.)
I was originally asked for this tutorial by somebody who was designing a fridge calendar. The link to the example calendar they wished to emulate has gone, unfortunately, but I’m including this tutorial here because it’s handy anyway.
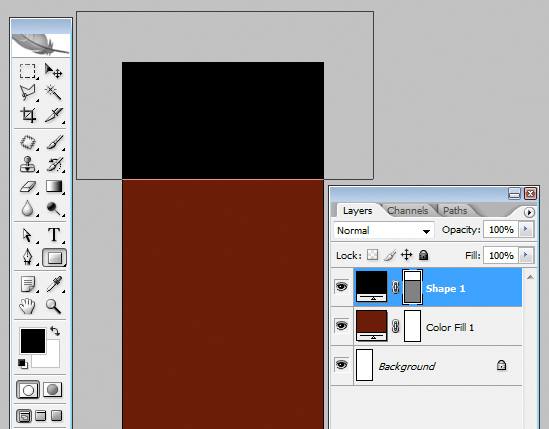
First I filled the whole file with a dark red layer, then used the Shape Tool (U) to draw a rectangle at the top of the design. It’s important to make the rectangle quite a bit bigger than it needs to be:
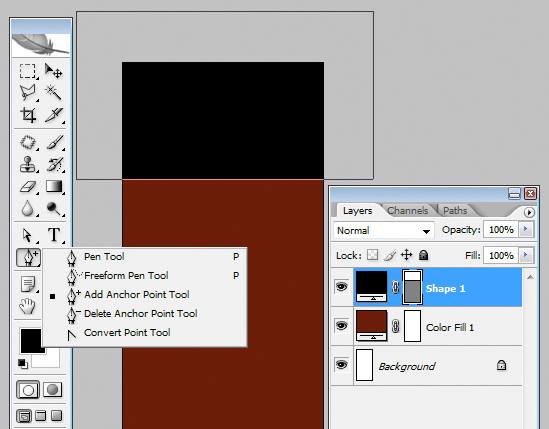
I chose the Pen Tool, then clicked-and-held on it to get the flyout options. I chose "Add Anchor Point":
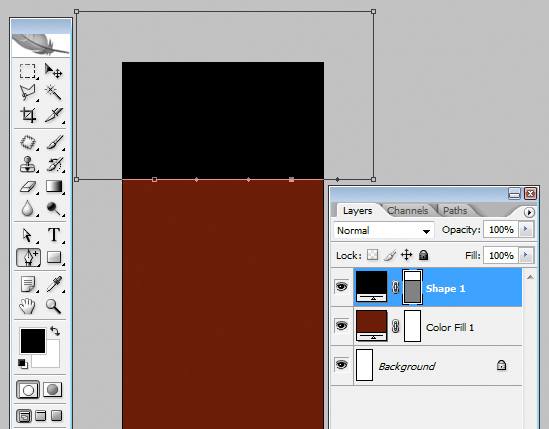
I added a point at each side where I wanted the high and low point of the curve to be. This is done with a single click on the border of the rectangle. (You could turn on grids to help you if needed).
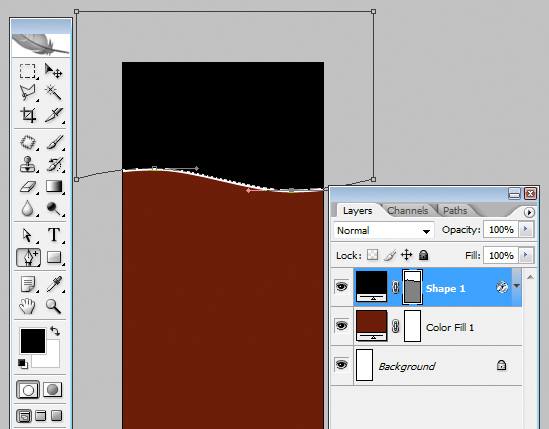
Then I moved one point up a bit, and one down a bit:

I went to Layer>Layer Style>Stroke, to add a white line:
And that’s all! Now it’s ready to act as a clipping mask for a photo at the top of the calendar, eg:
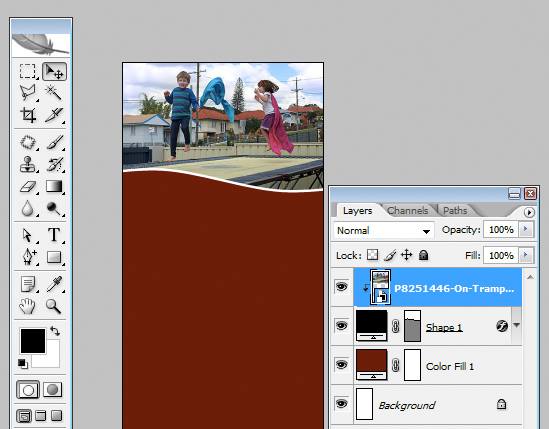
Finally, it’s ready for the calendar in the red space below.
Would you like to learn more about print design, and the Pen Tool?
If you ever prepare files for press printing, you'll love The Prepress Class.