Levels (or Curves) eyedropper for changing colours
The three little eyedropper tools in the Levels and Curves dialogs don’t get used much in the normal editing workflow, but they can be very useful from time to time. I’m about to demonstrate one such situation – making a backdrop more even.
This screenshot was captured in Photoshop. The method also works in all recent versions of Elements, with one small difference that I’ll mention along the way.
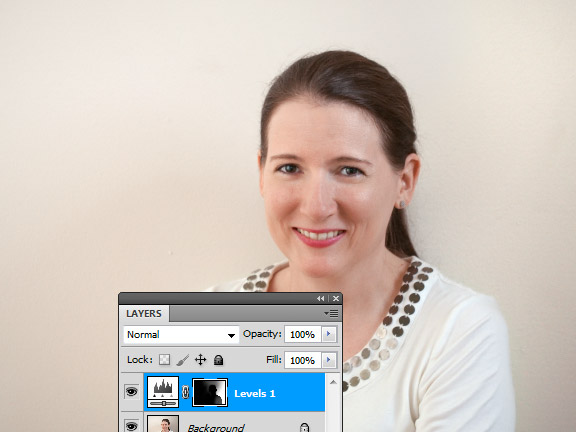
This is my wife Lara, looking beautiful as always. But the light falls away quite quickly to the right-hand side of the backdrop. I could, of course, replace the background entirely, but in this case it’s sufficient just to lighten it a bit.

First I add a Levels layer. (Curves would work too. Levels and Curves don’t always behave the same, but in this situation they would). In this screenshot, notice how the mask thumbnail is selected, with a little border around it:
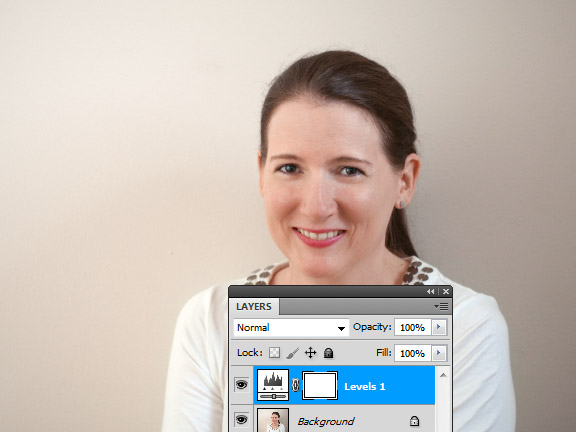
Elements users, at this point you’d need to delete the mask from the new layer (you’ll add one again later). Photoshop users, simply left-click on the layer icon as shown, so that the mask thumbnail is no longer selected. This is really important:
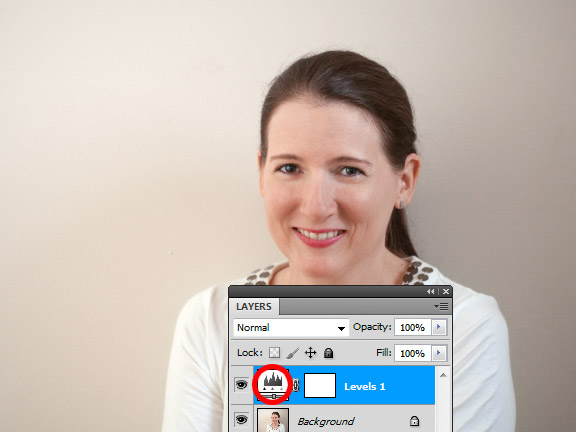
(By the way, layer icons look different in every version of Photoshop, so don’t panic if yours looks different from mine.)
Then in the Adjustments or Properties panel (depending on your version), double-click on the white eyedropper:
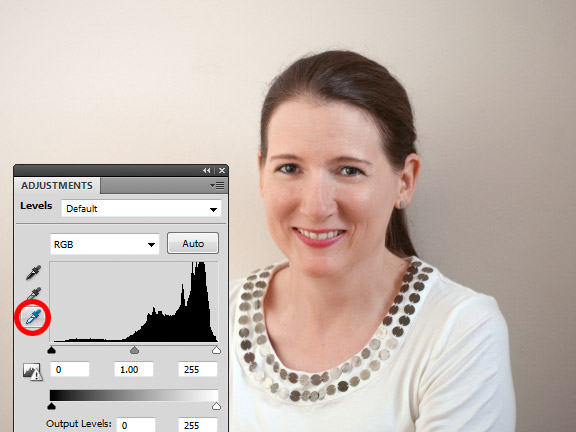
(If you were working with a dark background, you’d use the black eyedropper instead.)
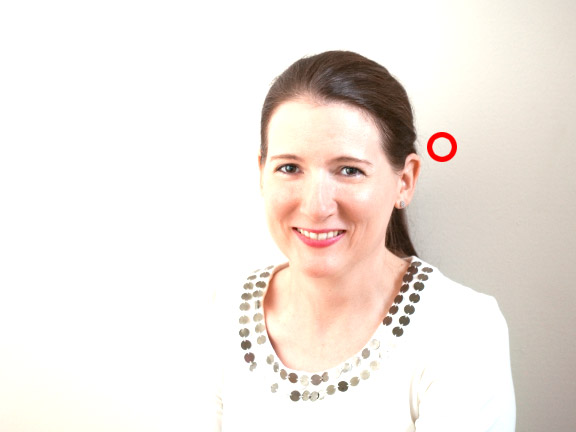
When the Color Picker window appears, sample a desirable area of light colour that you want to copy. I’ve clicked just above Lara’s ear on the bright side:
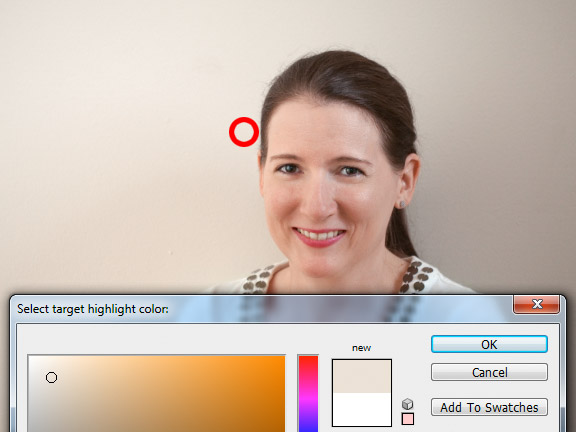
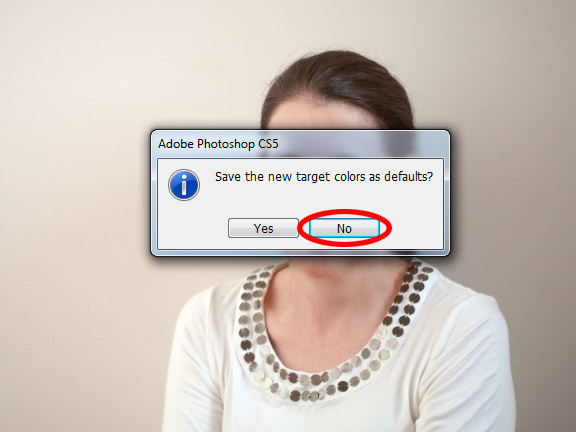
Then press OK. As soon as you do, this message will pop up. Make sure you say "No":
Back on the photo, click with that eyedropper on the dark side. When you do so, it will make that area as bright as the area that you sampled on just before. Of course, this will make the already-bright side blow out like crazy. Don’t panic :)
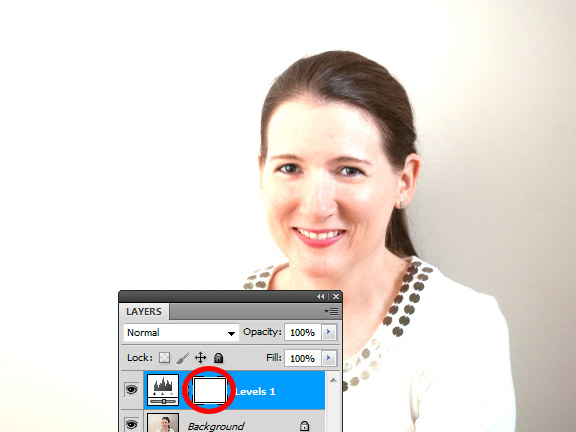
Photoshop users, click back on the mask thumbnail. Elements users, add a new mask to the layer:
Then start masking. In this example I began by using the gradient tool on the mask to get me in the ballpark, but that wouldn’t be necessary – I could have started with the brush tool right away.
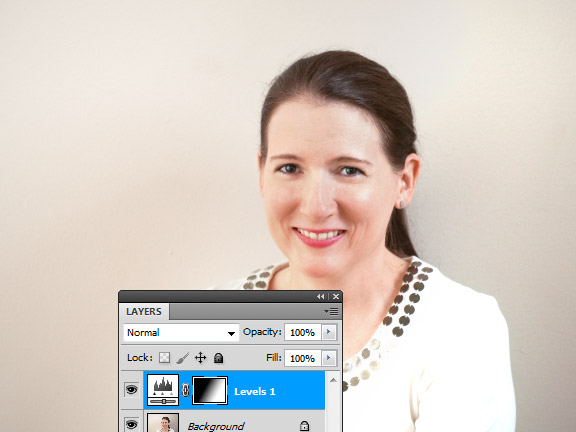
Keep on masking, and remember to frequently turn the Levels layer on and off to check how your work looks. Don’t rush this step, it’s important to get it just right. In this case, some of my masking was done with my brush at 10% opacity:
(By the way, some of the masking might be made simpler with this technique.)
Here's the final before-and-after:
