Replacing a background behind hair
What I’m about to show you is so astonishingly easy you’ll fall off your chair. And you’ll want to try it out on the very next photo you open. However, I must say at the outset that it only works:
- On photos with a fairly plain, flat, single-coloured background
- On photos where the hair is consistently darker than the background
Still, it’ll be handy for everyone from time to time. Let’s take a look …
(I’m very grateful to Brian C for allowing me to use his photo for this tutorial.)
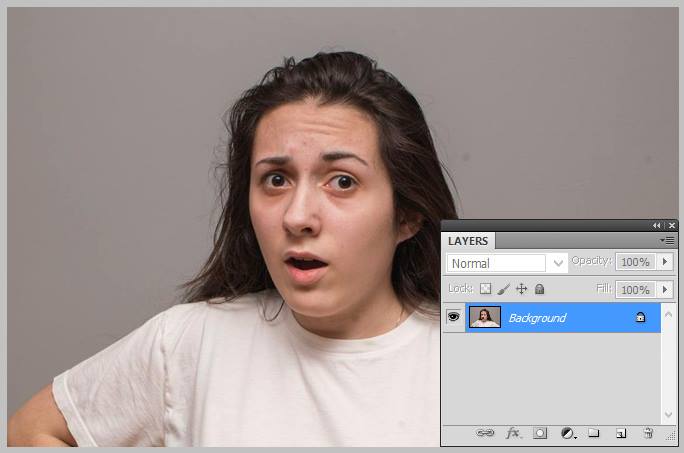
Here’s the photo, with its plain background and frizzy hair. Raw processing has been done, but nothing else:
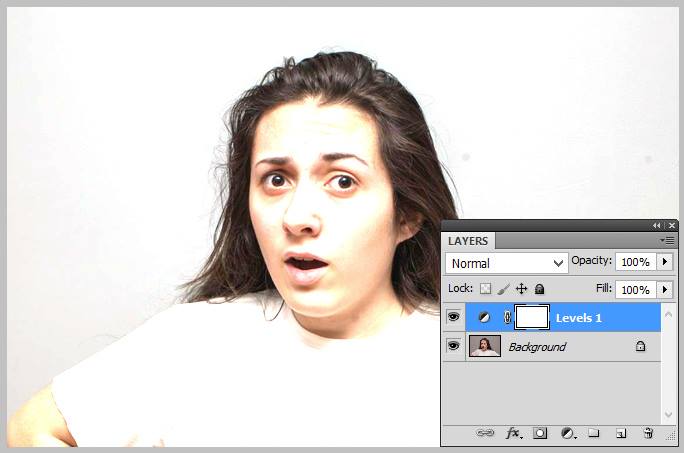
Add a Levels layer and use the white eyedropper tool to force the background to be white (blowing out the subject in the process):
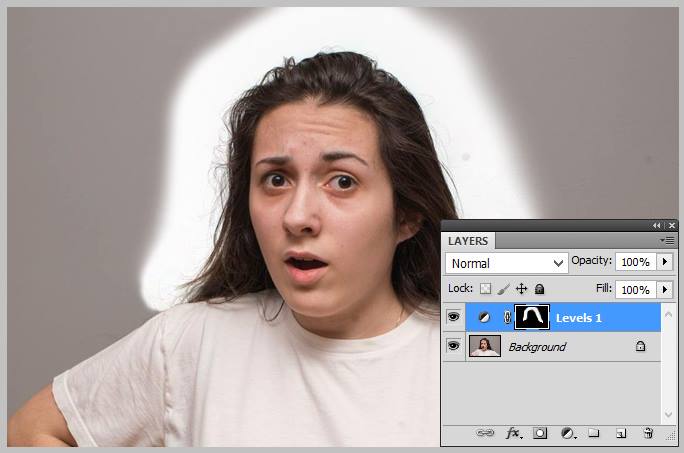
Mask the layer to just the hair area. Don’t be too uptight about this step, because you can easily modify it later. It’s important for you to understand, though, that there’s no precision required around the hair. Just let the mask encroach into the hair as far as needed:
Add the new background layer (sky in this example). Remember, always use File>Place or File>Place Embedded to do this, never copy and paste:

Change the blend mode to Multiply, and clip it to the Levels layer:
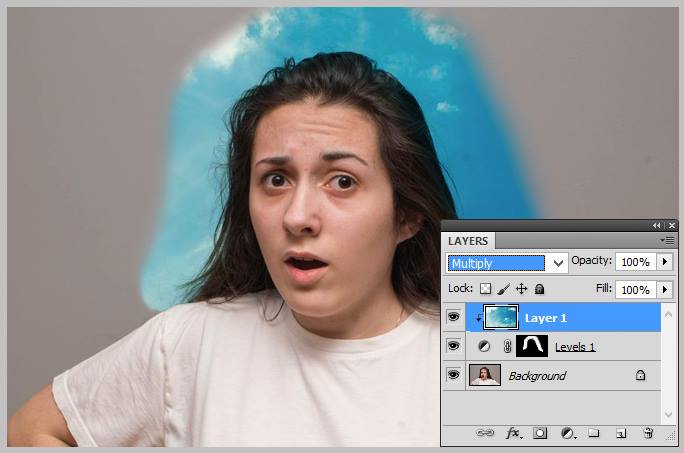
At this point, you can return to the Levels layer and paint on the mask a bit more if needed.
Duplicate the sky layer (and put its blend mode back to Normal and unclipped it) then mask it. This part was the only stage that will take some time. You need to zoom in and use a small brush to mask accurately around the clothing and arms. But you DON’T need accuracy around the hair, because the previous layer had already taken care of that. Important tip)
(I had the wrong layer selected in this screenshot, sorry. Of course I was masking the topmost layer).
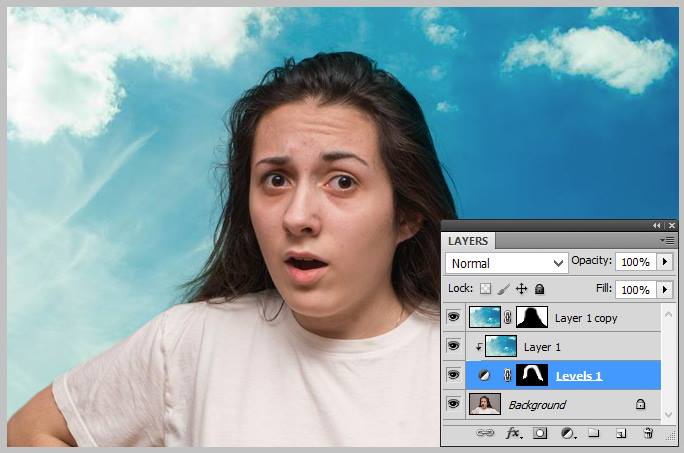
In case you’re not impressed enough yet, check out the before-and-after result:
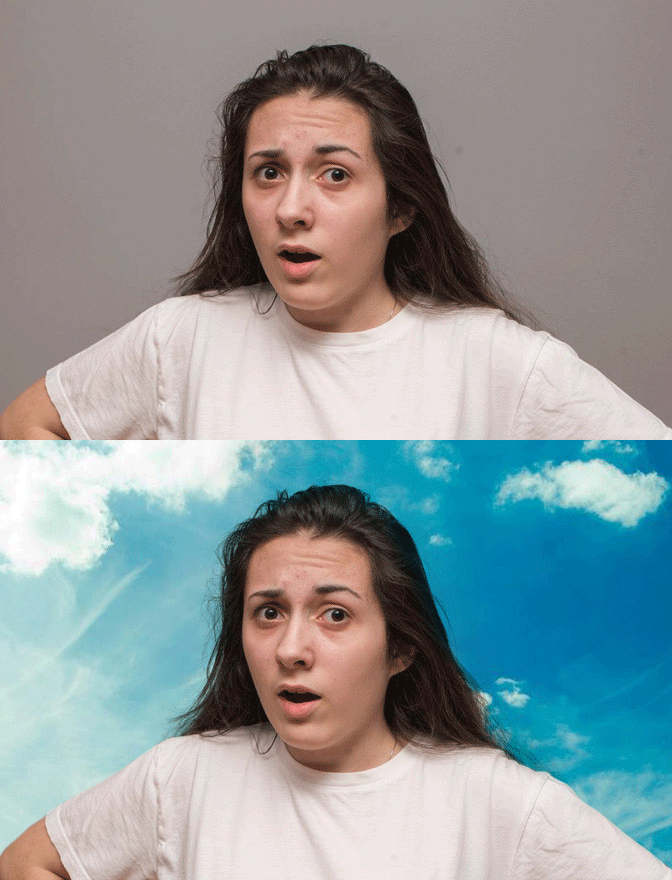
See how many strands of hair were lost? NONE! Isn’t this an awesome method??
Normally, if you google for tutorials about extracting backgrounds, especially where hair is involved, every result will be some nonsense about the "Refine Edge" or "Select & Mask" feature, or the Pen Tool, or channel extraction. This method beats those methods almost every time.
